
Encaustic and cement look tiles: patterned tiles without the upkeep
Encaustic cement tiles have a look designers love, but they are porous and need sealing. Glazed ceramic tiles with an encaustic pattern give the same look with far less upkeep. Here is how they compare and how to use them.
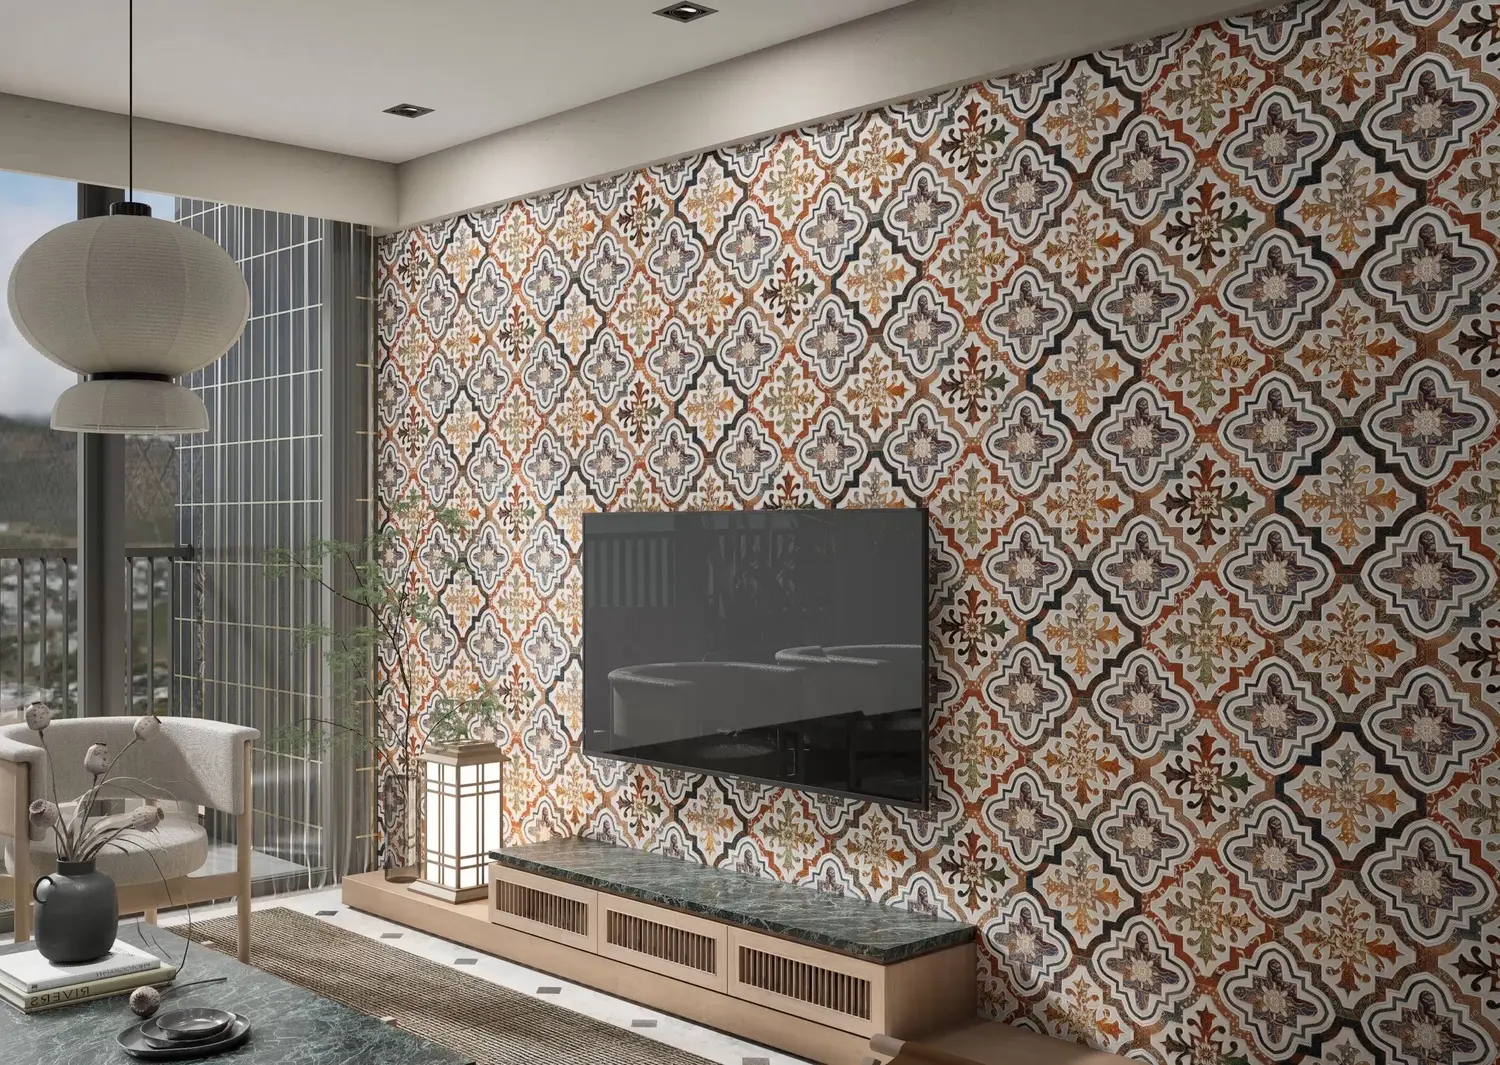
Patterned tiles came back into kitchens, bathrooms and cafes through encaustic cement tiles: bold medallions, stars and borders in flat, chalky colours. The look is easy to love. Real cement tiles are harder to live with, which is why many designers now specify glazed ceramic tiles printed with an encaustic pattern.
What encaustic cement tiles are
A cement tile is made by pouring coloured cement into a metal mould, one colour per section, backing it with a layer of grey cement and pressing it hard. It is cured, not fired. The pattern is a few millimetres of coloured cement, so it wears with the tile but it is also porous.
Cement tiles and ceramic encaustic-look tiles compared
| Cement tiles | Ceramic encaustic-look tiles | |
|---|---|---|
| How they are made | Coloured cement pressed in a mould, cured | Clay body, digitally printed glaze, fired |
| Surface | Porous, chalky | Glazed |
| Sealing | Needs sealing, and resealing over time | No sealing; only the grout needs care |
| Stains | Oil, wine and acid can mark them | Wipe clean |
| Thickness and weight | Often 15 mm or more, heavy | 7.5 to 9.5 mm |
| Pattern | Few colours per tile, flat | Many colours and fine detail, several faces per design |
Cement tiles still have their place, for example where a patina that changes with use is wanted. For kitchens, bathrooms, cafes and busy floors, a glazed ceramic tile is the practical choice.
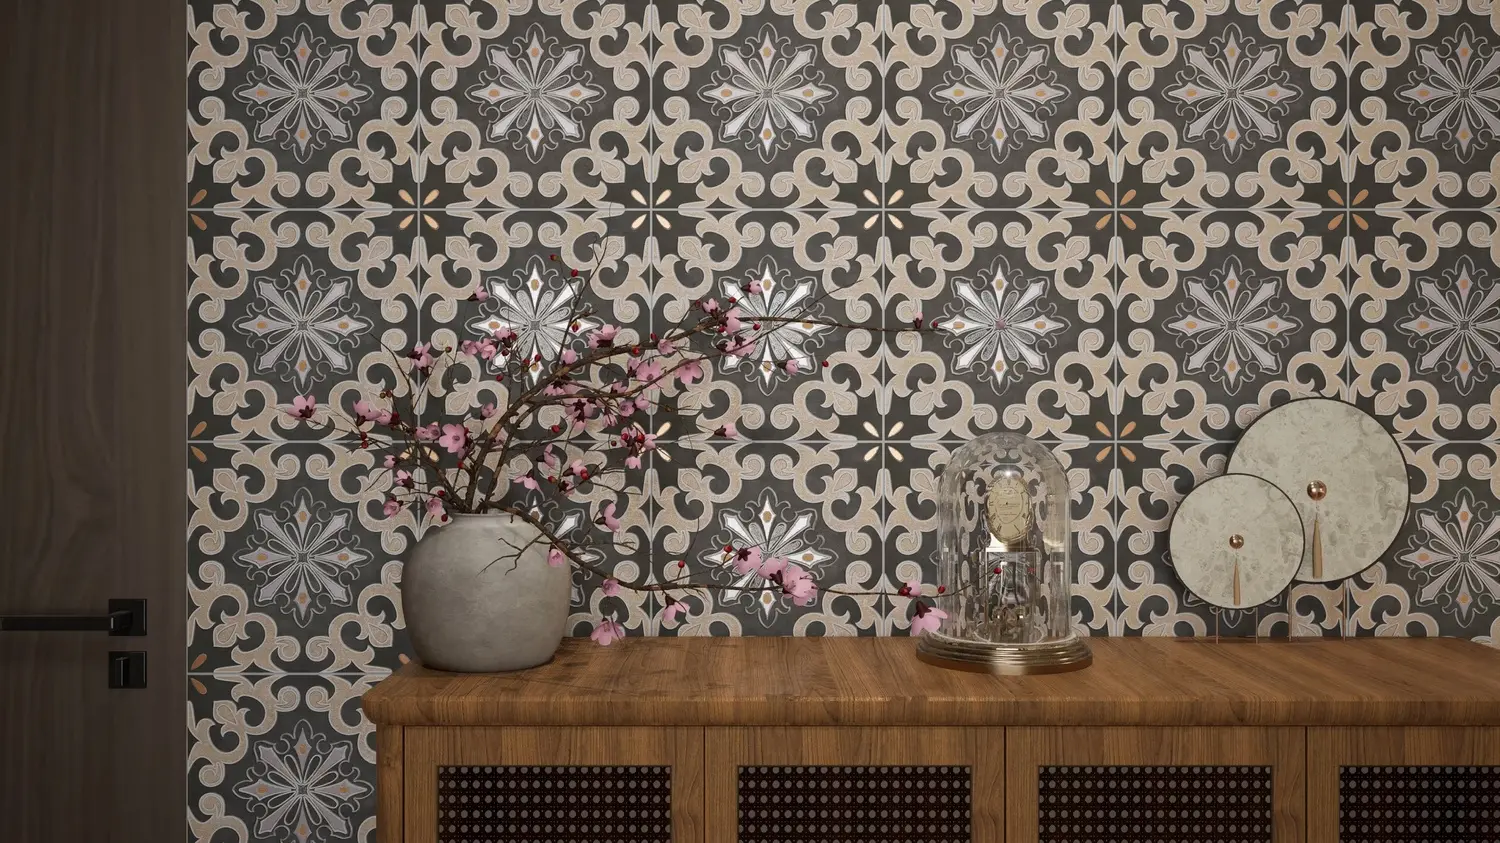
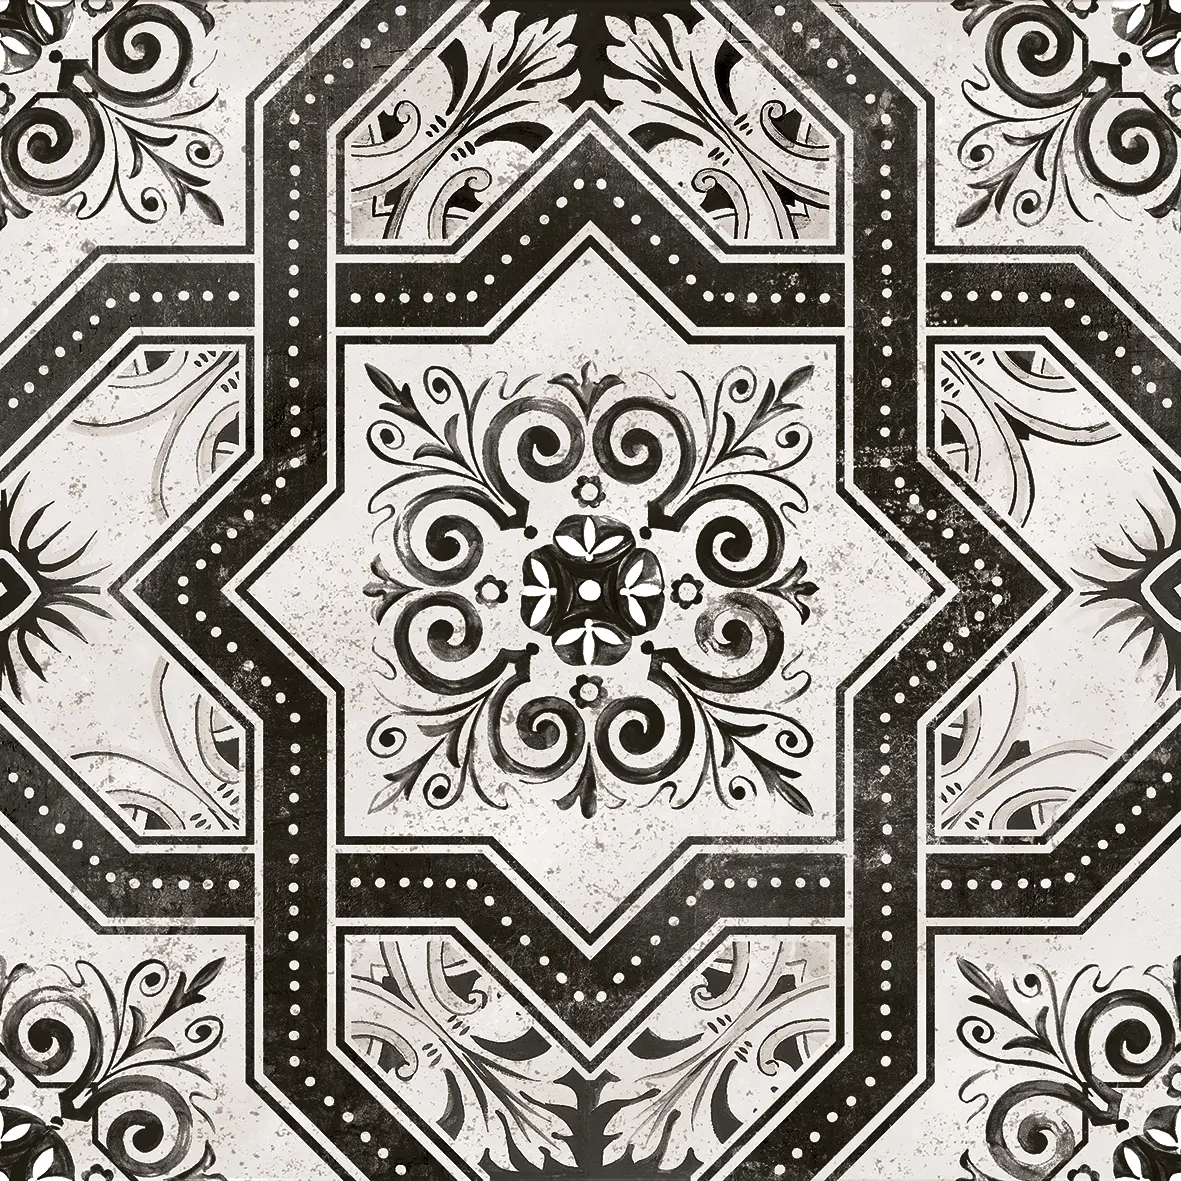
Medallions and stars
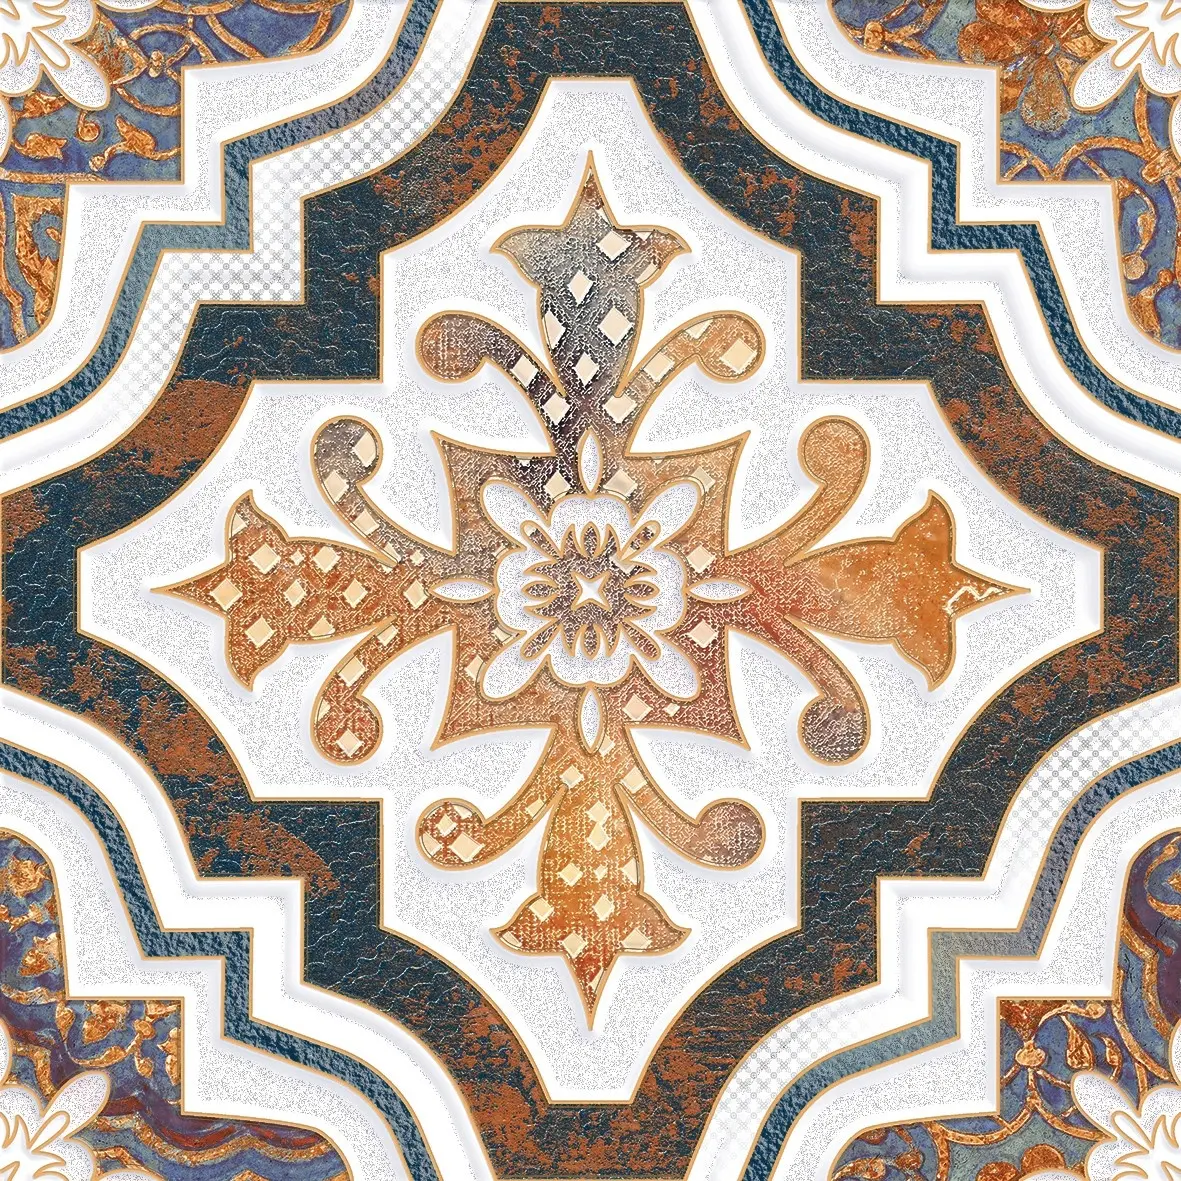
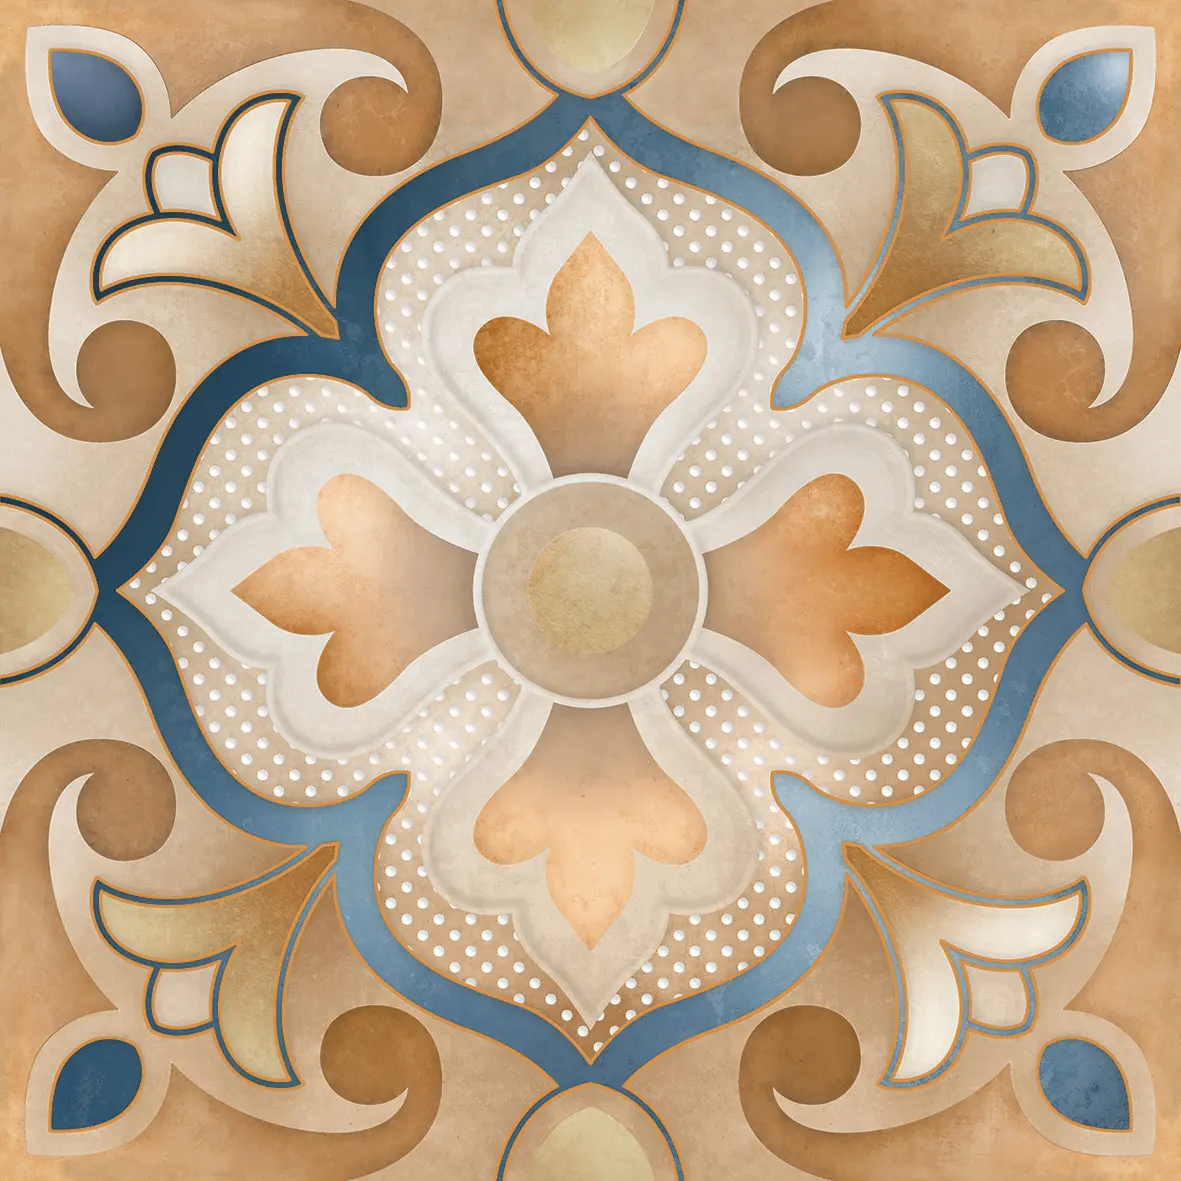
Classic encaustic patterns: a central medallion, framed so that four tiles meet in a second pattern.

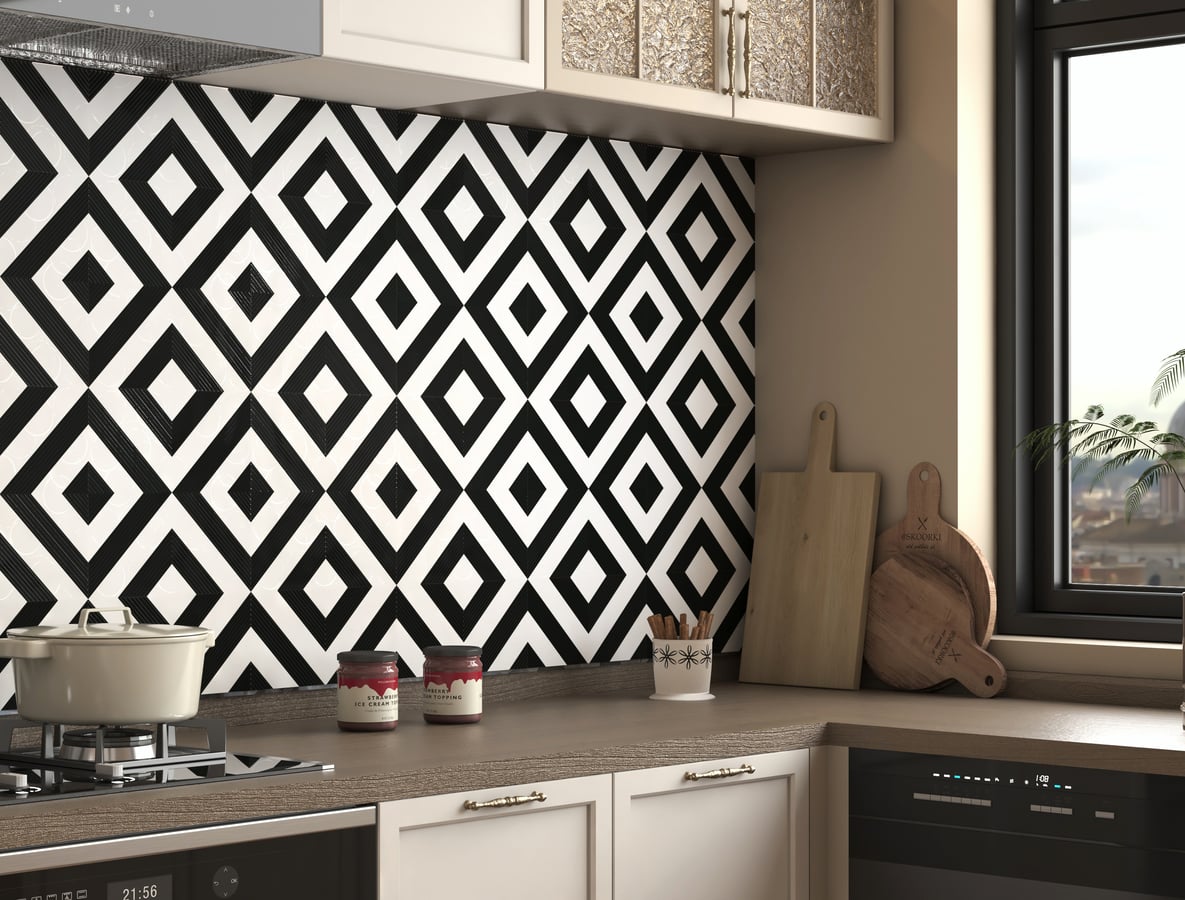
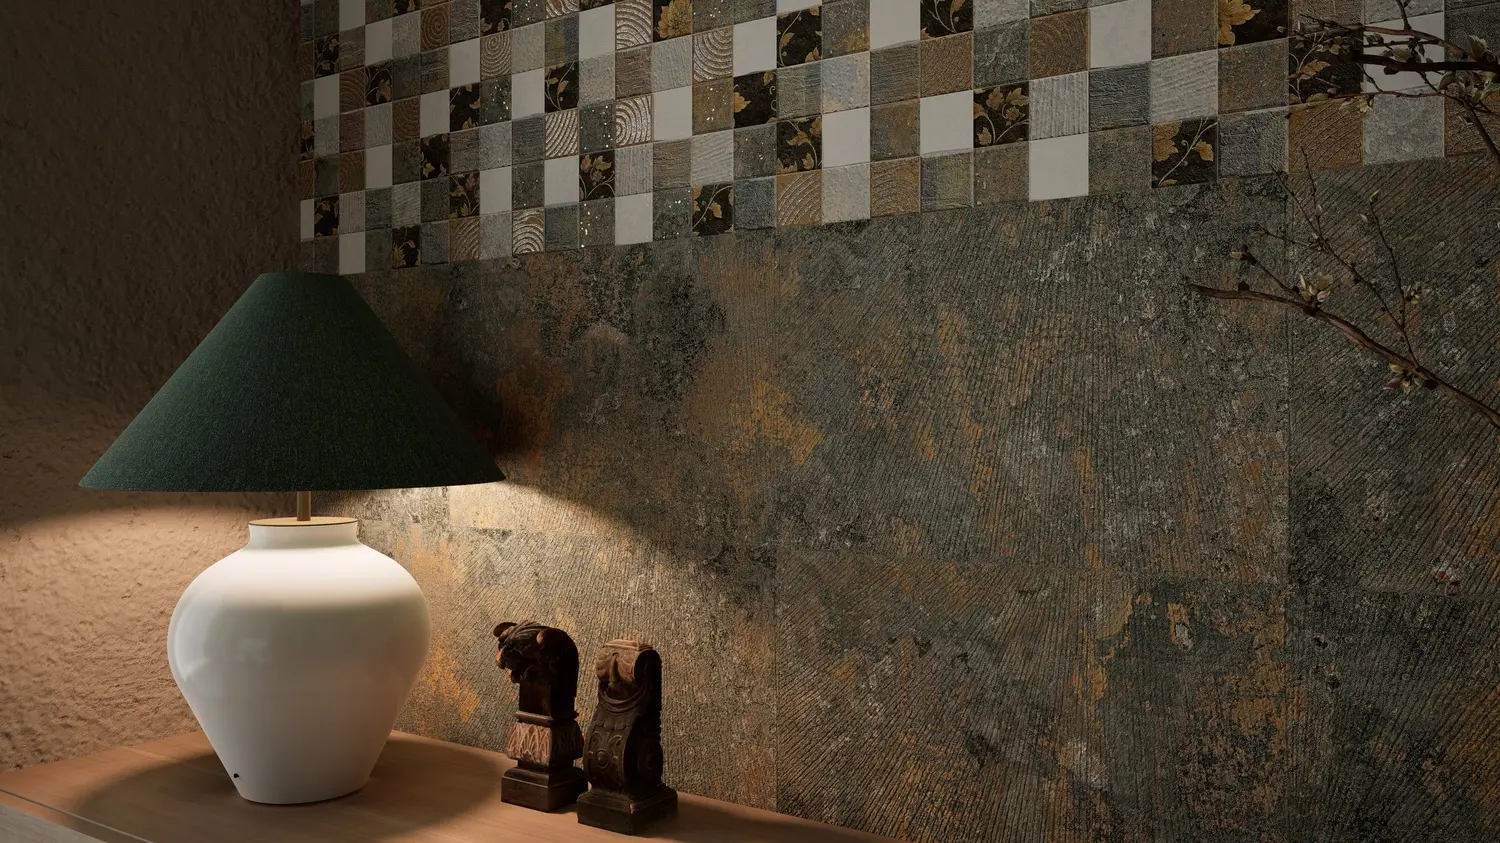
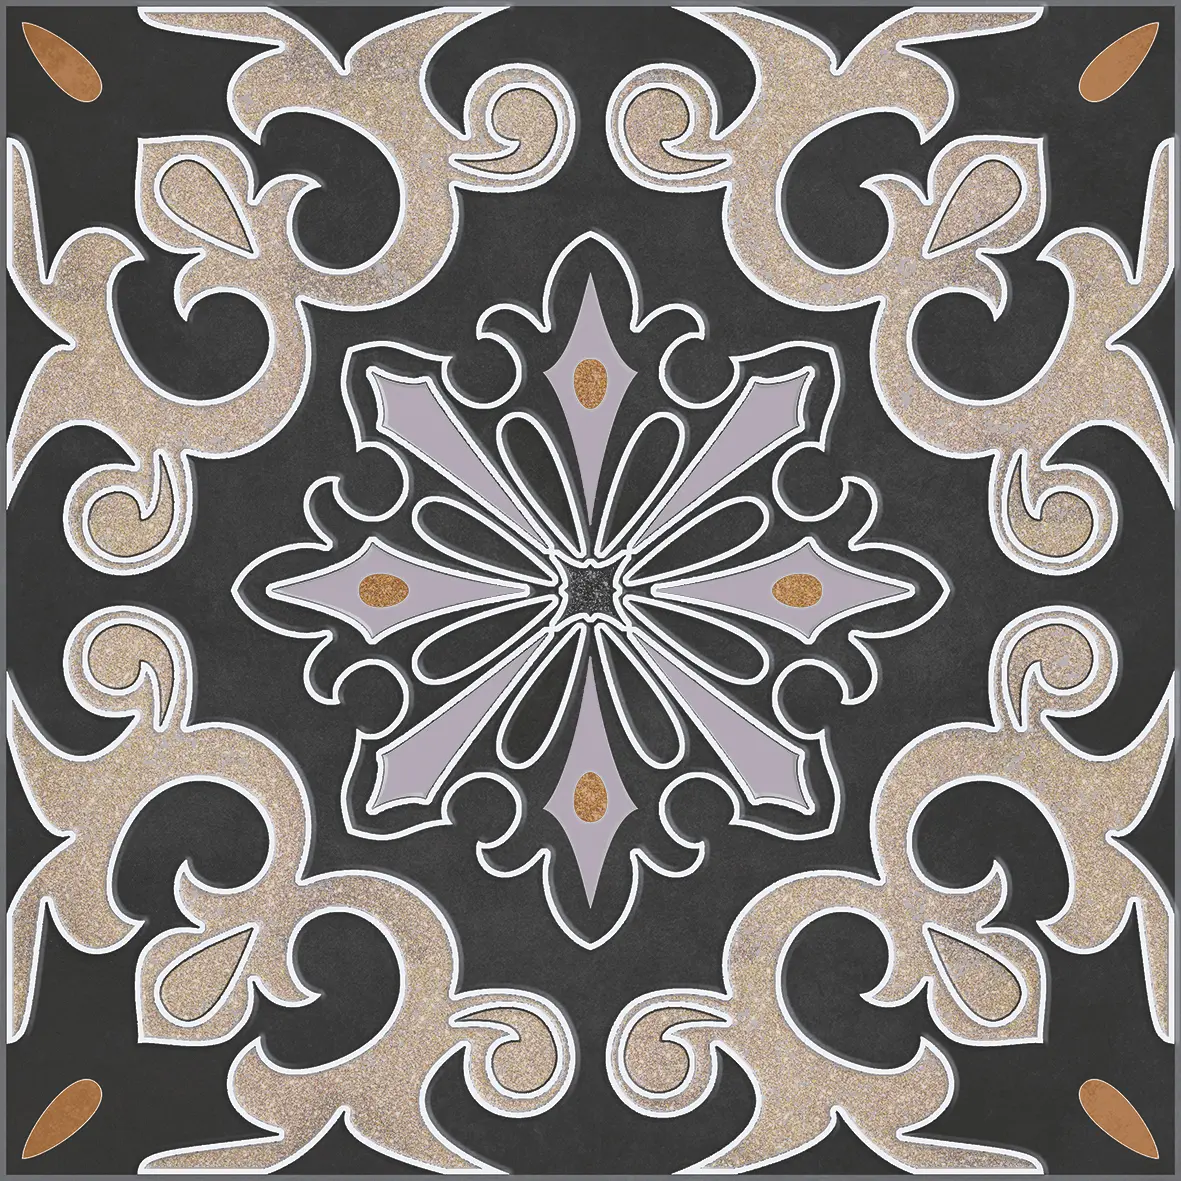
Black and white, and dark grounds
Strong contrast suits graphic rooms, bathrooms and coffee counters.

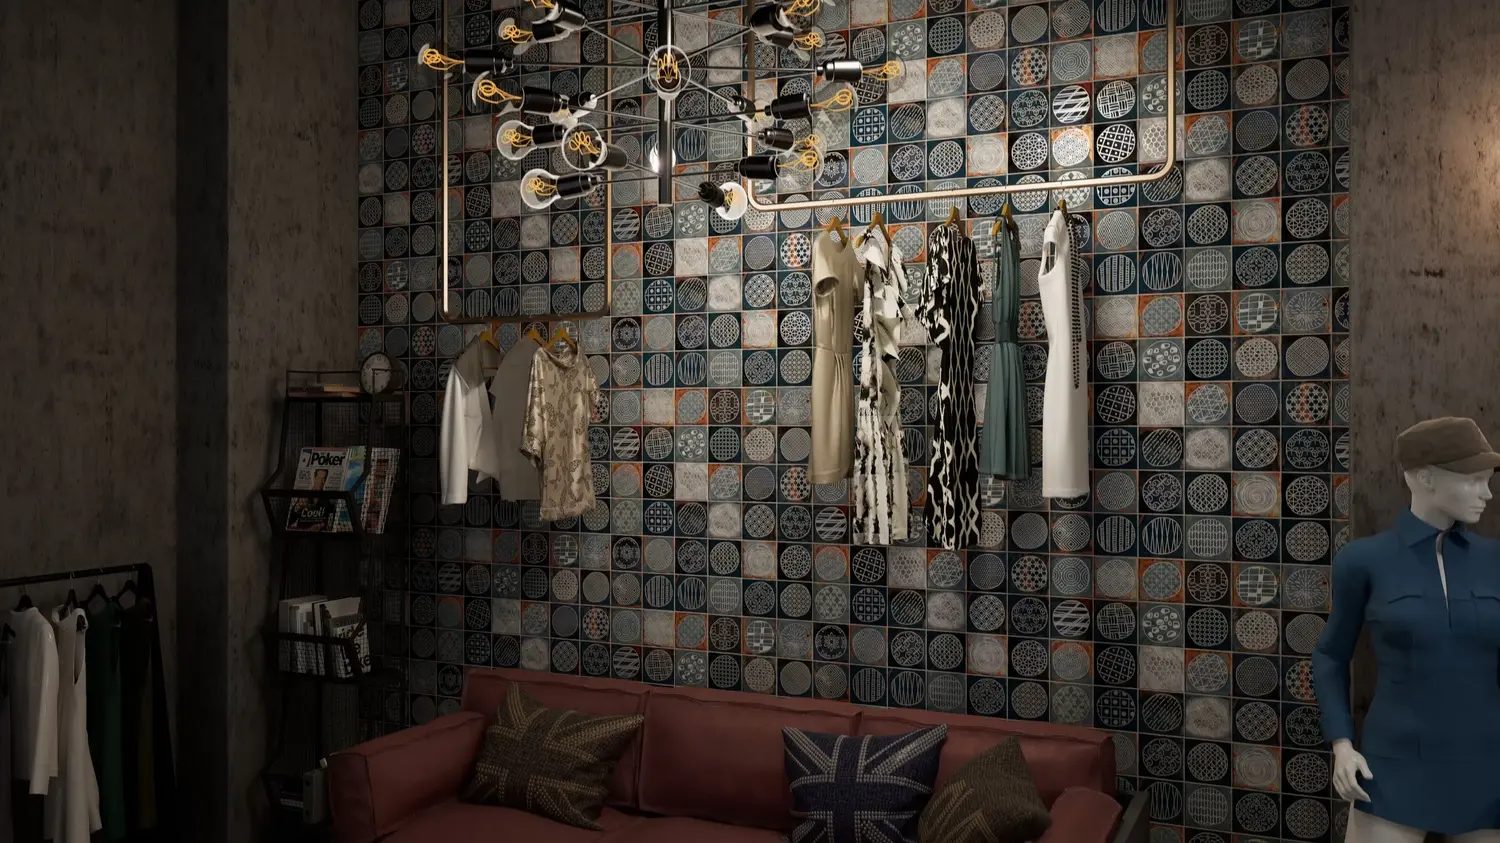
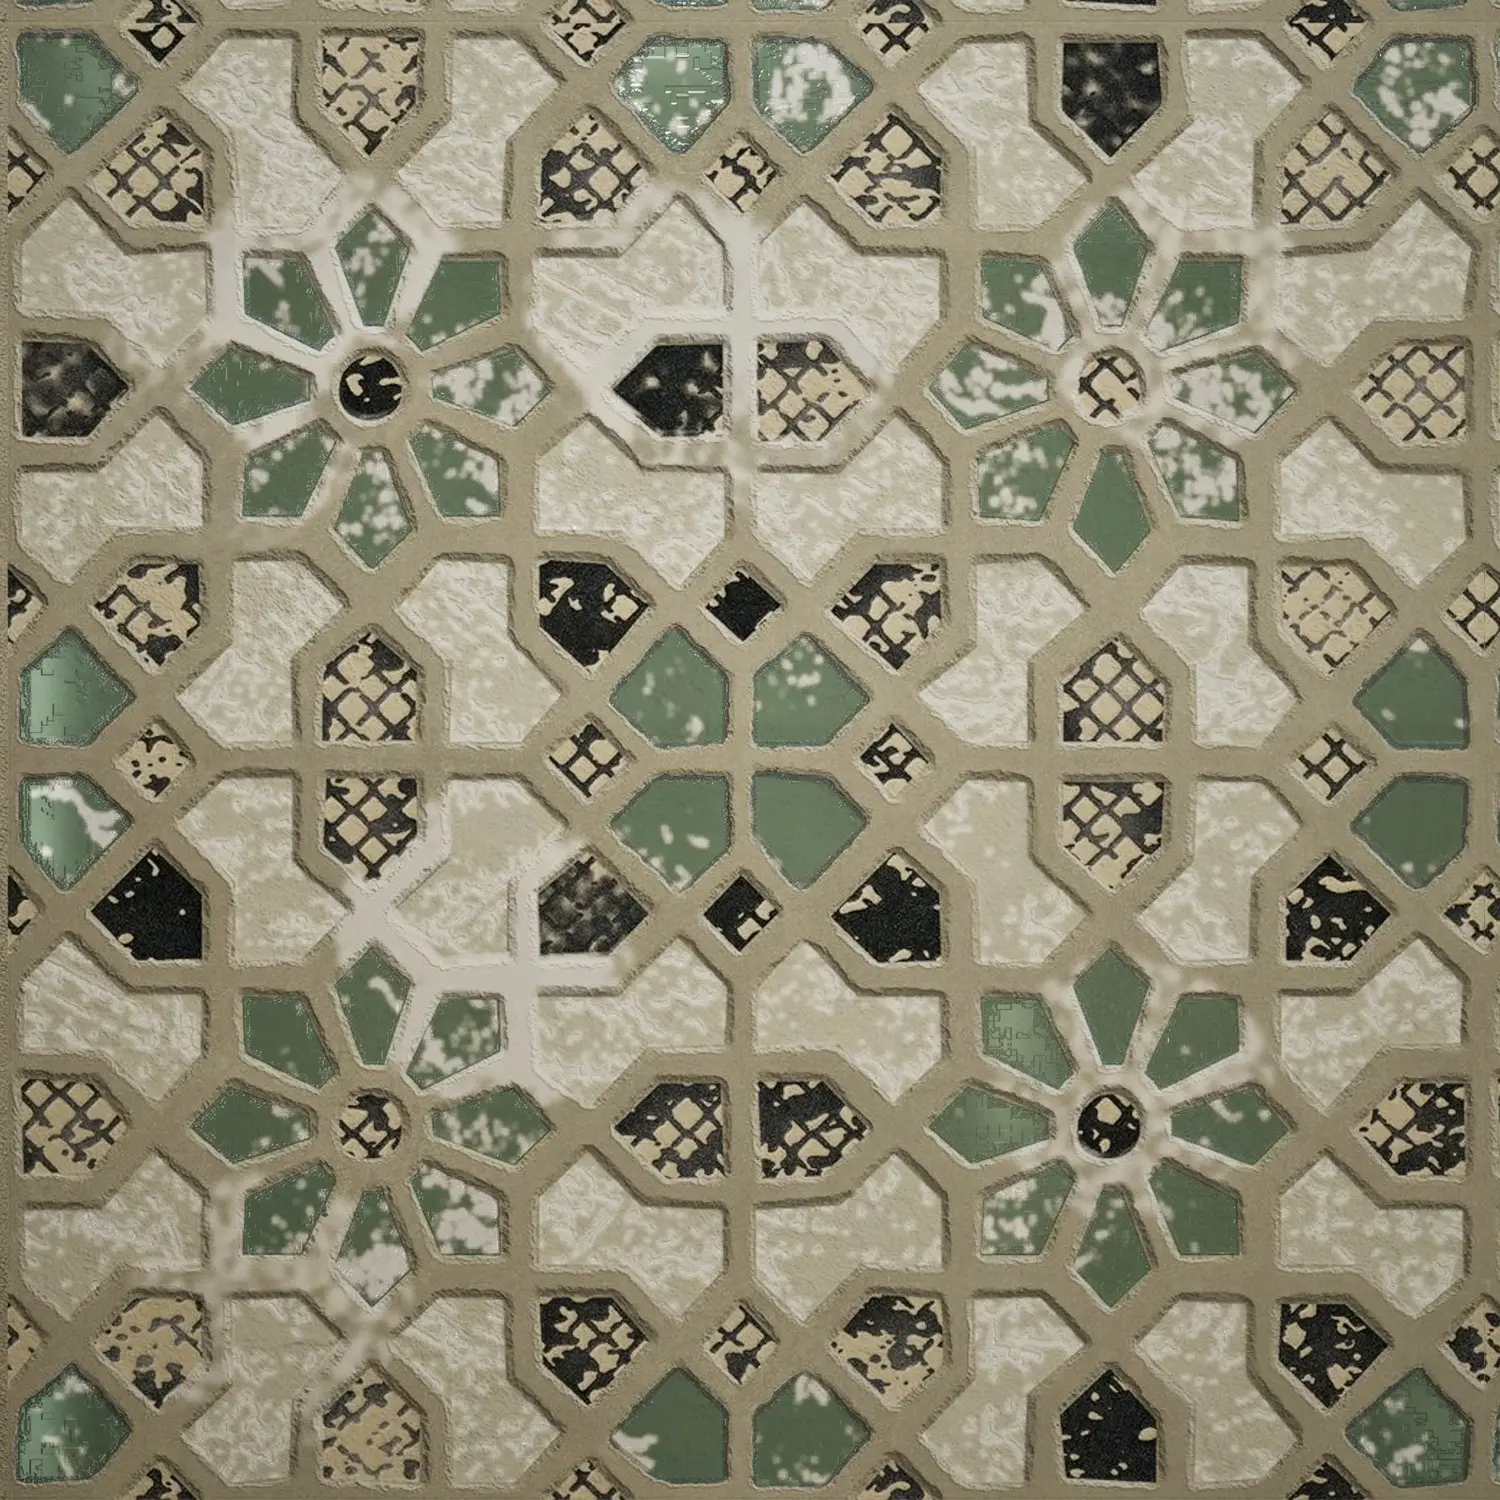
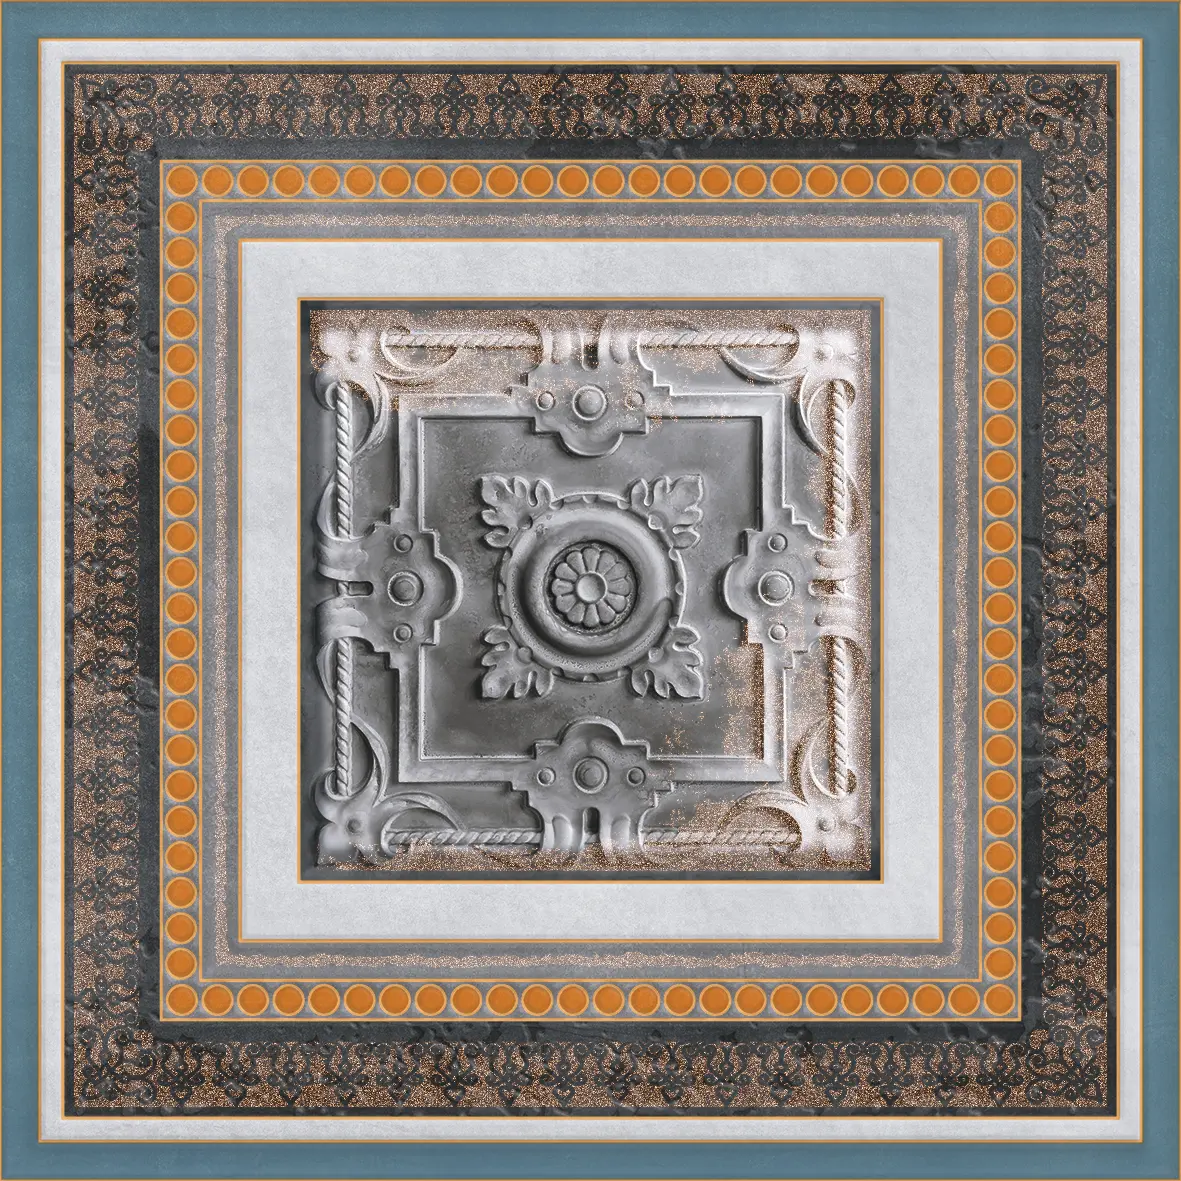
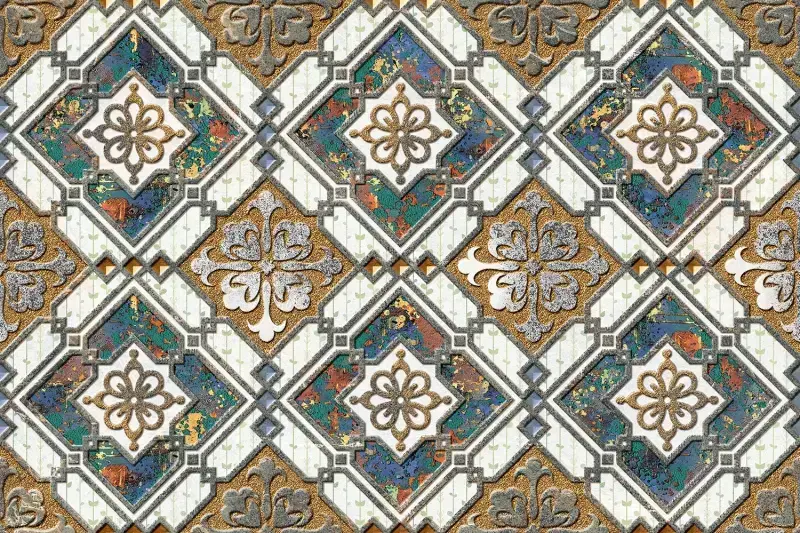
Lattices and vintage panels
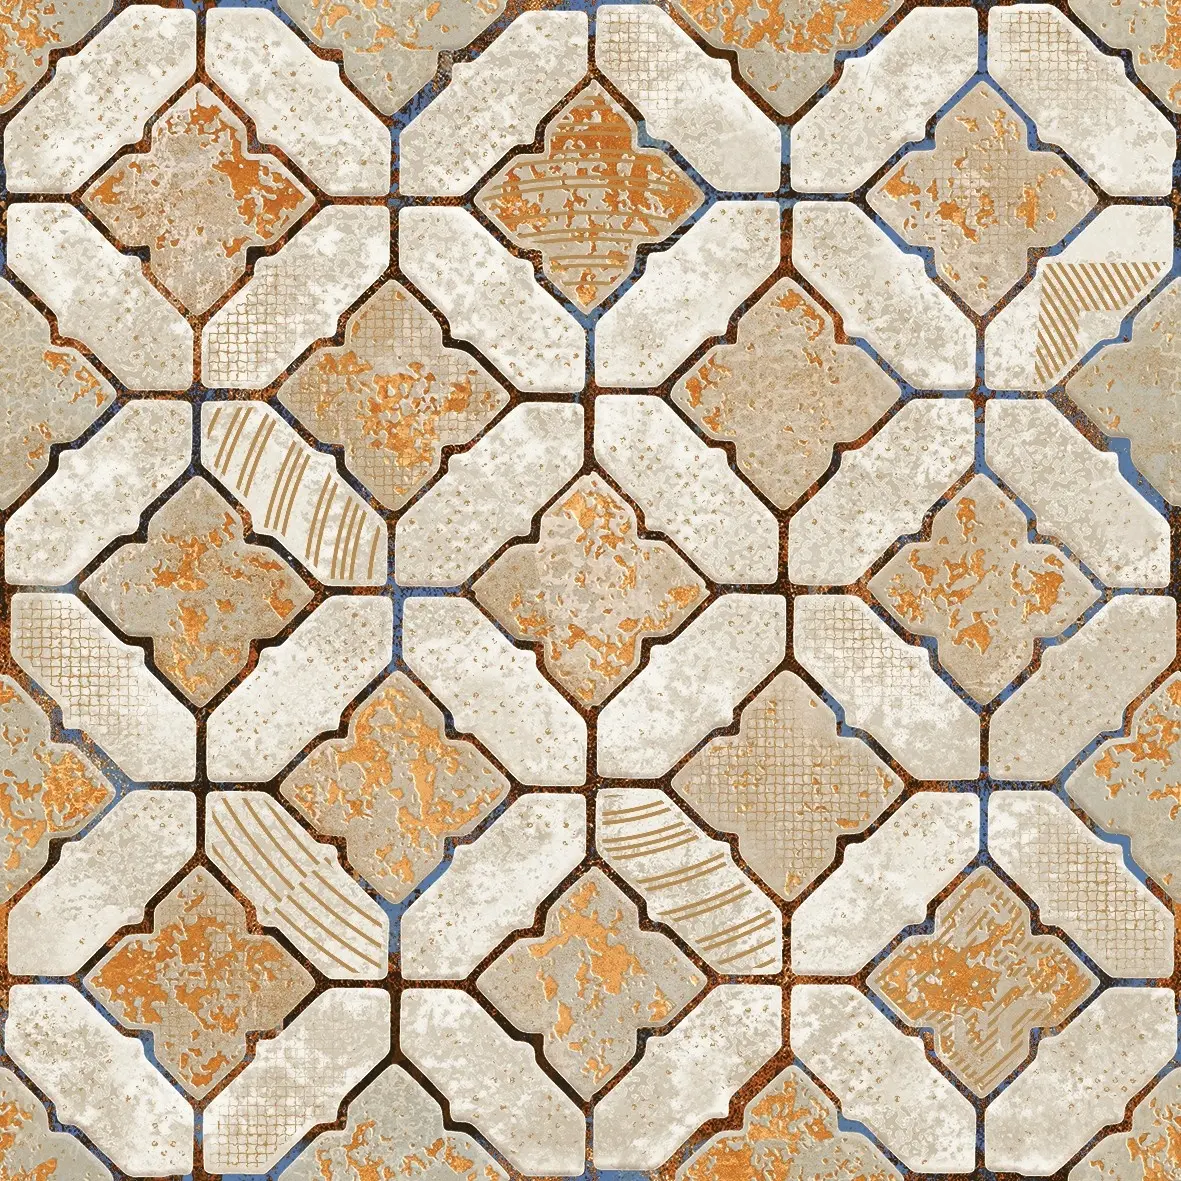
Patchwork
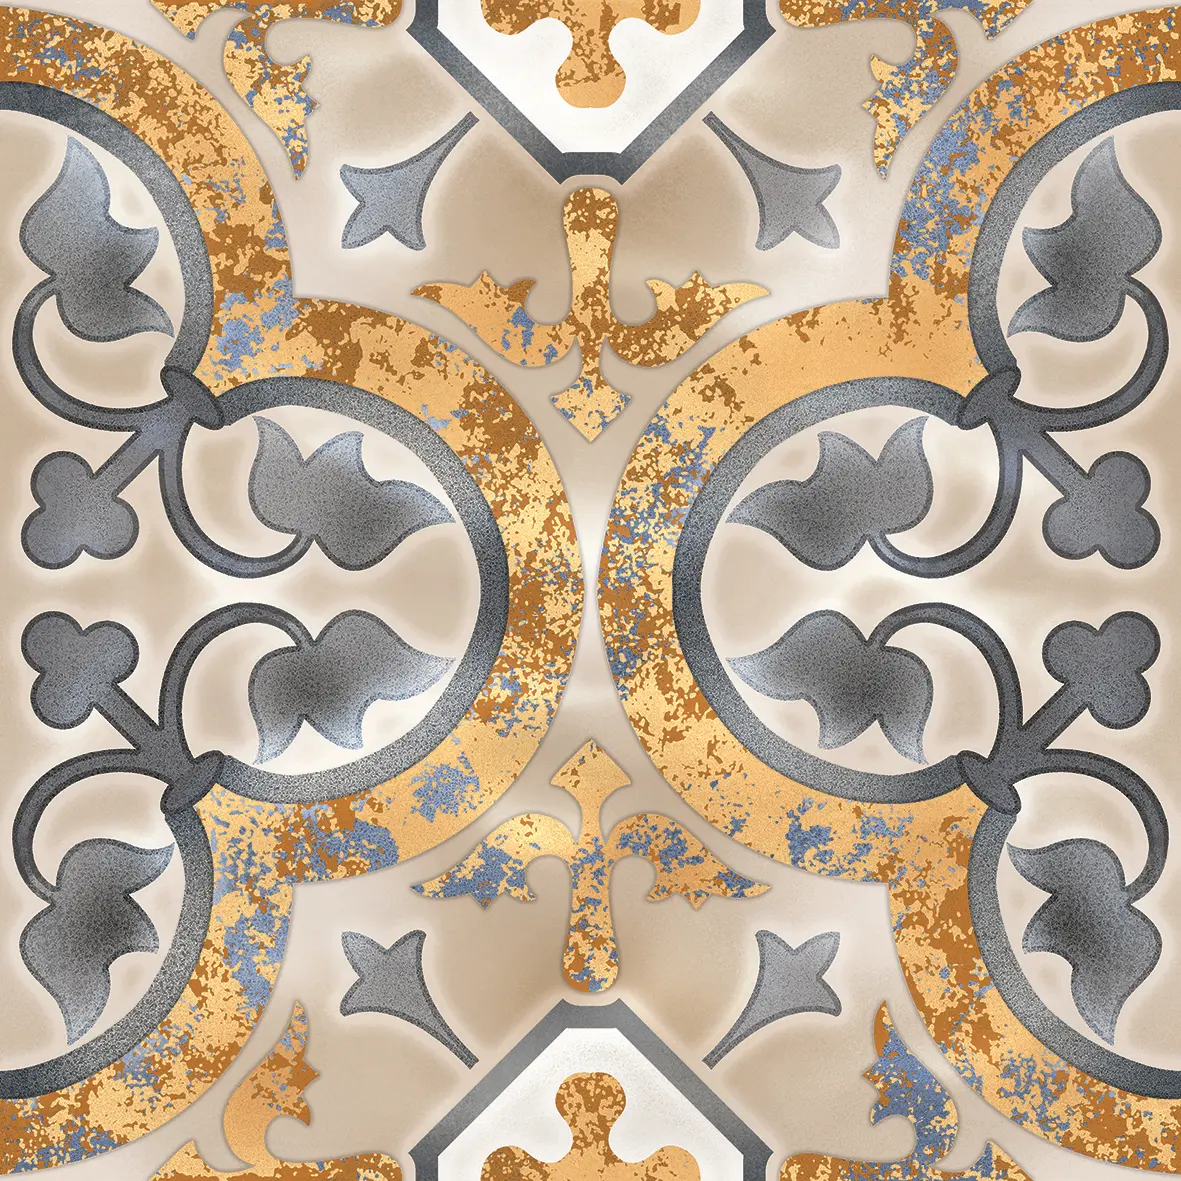
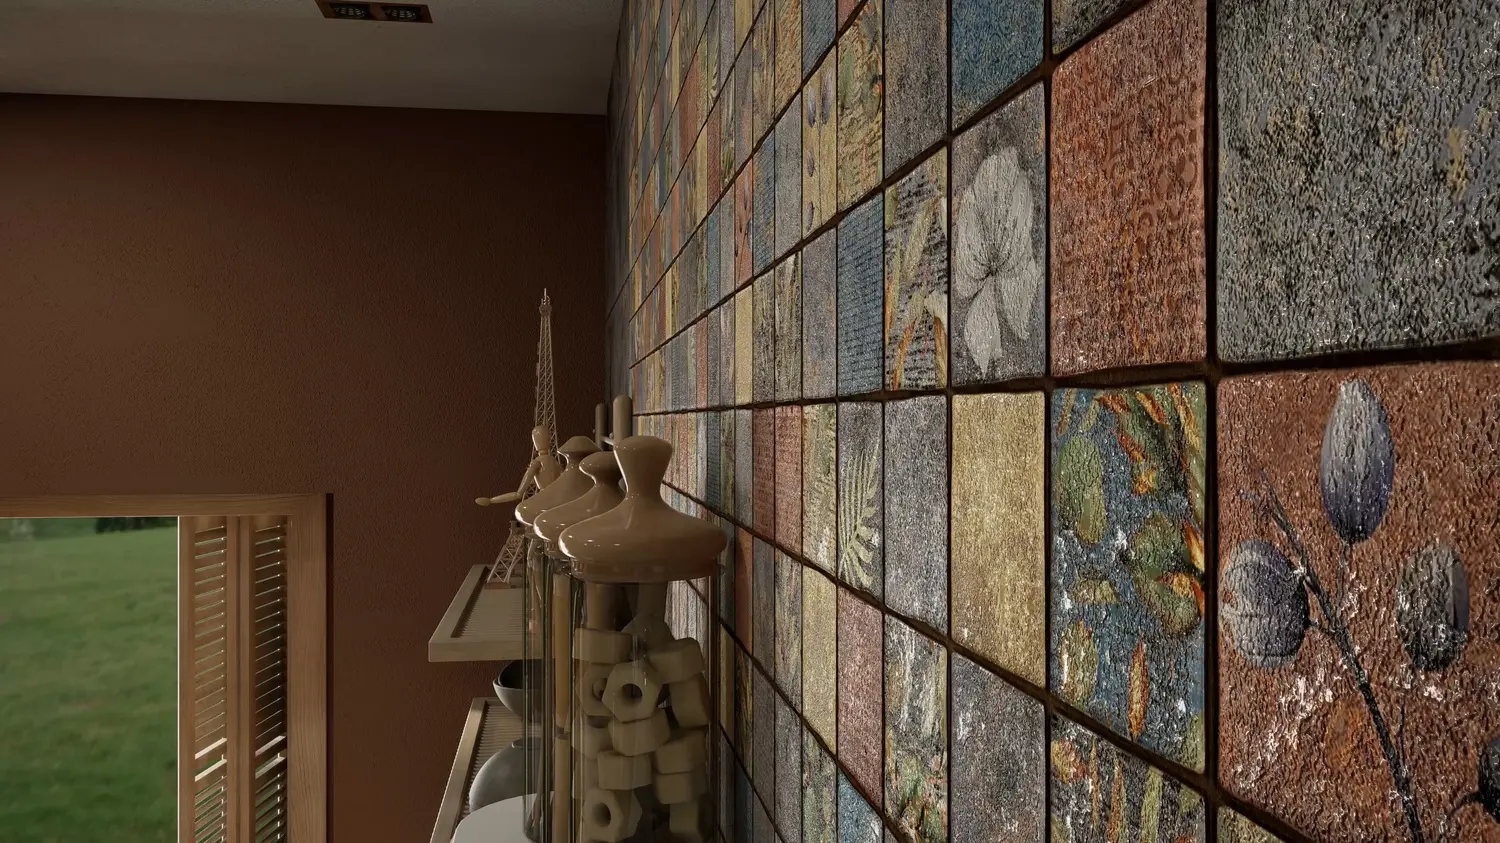
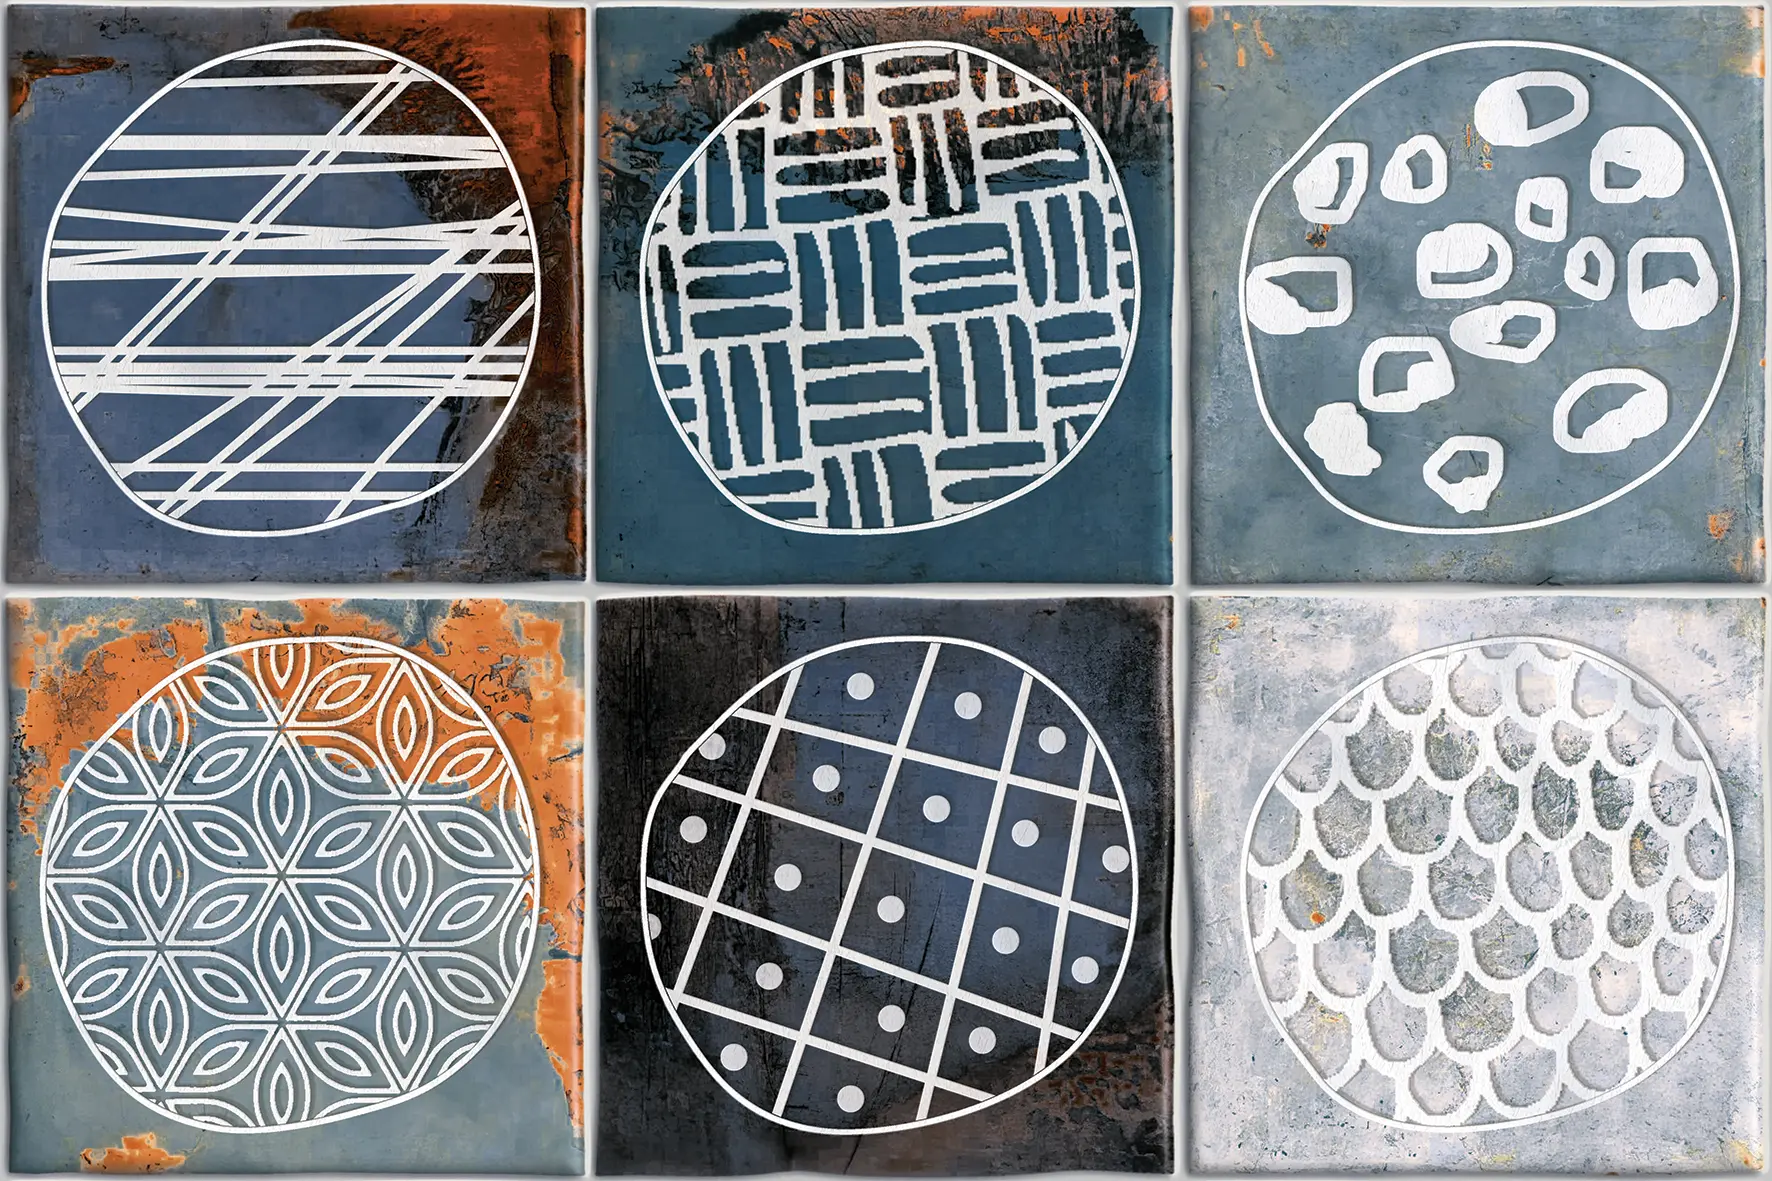
A patchwork wall mixes several patterns in one palette. Designs with several faces do it on their own; with others, mix two or three designs that share a background colour.
How to lay patterned tiles
- Lay a few square metres dry on the floor first, to see where four tiles meet and form the larger pattern.
- Centre the pattern on the wall or the room, so that the cut tiles at both ends are equal.
- Frame a busy pattern with a plain tile when it covers only part of a wall, such as a backsplash or a panel behind a bed.
- Choose a grout that matches the tile's background colour, so the pattern reads as one surface.
- Mix the faces of a design as you fix, so the same face does not sit next to itself.
Walls and floors
Most of our patterned 300 × 300 mm designs are 9.5 mm thick and made for floors as well as walls (each product page says so under Technical details), so one design can run from a kitchen floor up a backsplash, or cover a bathroom floor and a vanity wall.
More on the Moroccan side of the family in Moroccan tiles, and every design in Moroccan tiles and black and white tiles.