
How to install wall tiles: surface, adhesive, setting out, cutting and grouting
A step-by-step guide to fixing ceramic wall tiles in bathrooms, kitchens, living rooms and on exterior walls: the surface, the adhesive, setting out the first row, cutting, grouting and sealing, and the mistakes that cause hollow and loose tiles.
A good tile can be let down by the way it is fixed. Most problems people blame on the tile, such as a hollow sound when tapped, tiles that come loose after a monsoon, uneven edges or cracked grout, start with the wall behind it, the adhesive or the joints. This guide explains how ceramic wall tiles should be installed, step by step, for bathrooms, kitchens, living room walls and exteriors.
It is written for homeowners who want to know what good work looks like, for contractors who want a checklist, and for anyone fixing tiles themselves. The method suits our 300 × 300, 300 × 450 and 300 × 600 mm ceramic wall tiles and most other ceramic tiles. Always follow the instructions on your adhesive and grout bags as well: they differ from product to product.
What you need
- Materials: tiles (with 10% extra, see how many tiles do I need), tile adhesive, grout, tile spacers, silicone sealant for corners, and waterproofing for wet areas.
- Tools: a spirit level or laser level, measuring tape, pencil, a straight timber batten, a notched trowel, a bucket and paddle mixer, a rubber mallet, a manual tile cutter, an angle grinder with a diamond blade, a hole saw for pipes, a rubber grout float, sponges and clean cloths.
Step 1: prepare the wall
Tiles are only as flat and as strong as the wall they sit on.
- Cured plaster. New cement plaster should be allowed to cure for at least two to four weeks before tiling, so it has finished shrinking. Tiling on wet plaster traps moisture and can loosen tiles later.
- Flat and true. Check the wall with a 2 m straight edge. Fill hollows and grind high spots: adhesive is not meant to fill large dips, and a wavy wall makes tile edges stand proud of each other.
- Clean and sound. Remove dust, oil, loose plaster and old wallpaper. Paint stops adhesive gripping; scrape it off or roughen the wall and use a primer recommended by the adhesive maker.
- Check what is behind. Mark pipes and electric lines before you start, and fix any plumbing first. Taps, mixers and electrical boxes should be set to the finished tile level.
Step 2: waterproof wet areas
Glazed tiles are waterproof on the face, but water reaches the wall through the joints. In a shower, behind a bathtub and on a bathroom floor, apply a waterproofing coat (a liquid membrane or a cement-based waterproof coating) before tiling. Take it up the wall at least 300 mm (about a foot) from the floor all round the bathroom, and to the full height of the shower area, with fabric tape where walls meet floors and around pipes. Let it cure as the maker says, then tile over it with an adhesive the maker approves.
In kitchens, the wall behind the sink benefits from the same treatment. Exterior walls should be watertight before tiling, with any cracks repaired, so rain does not soak in behind the tiles.
Step 3: choose the adhesive
There are two ways to fix wall tiles in India.
- Cement mortar (thick bed). The traditional method: tiles soaked in water and set on a bed of cement and sand mortar about 10 to 15 mm thick. It can level an uneven wall, but it is slow, uses a lot of water, and leaves voids behind the tile if the mortar is not packed fully. Larger tiles, such as 300 × 600 mm, are prone to hollow spots and slipping with this method.
- Tile adhesive (thin bed). A ready-mixed cement-based powder with polymers, mixed with water and spread 3 to 6 mm thick with a notched trowel. It grips far better, needs no soaking of tiles, and is the right choice for ceramic tiles of 300 × 450 mm and larger, for exteriors, and for tiling over old tiles.
Tile adhesives in India are made to IS 15477, and many bags also show an international class. C1 is a normal cement adhesive for indoor walls; C2 is improved, for exteriors, larger tiles and tiling over tiles; T means it resists slipping on walls; E gives a longer working time; S1 means it can flex a little, useful on exterior walls and on boards. For interior walls of ceramic tiles a C1T adhesive is usually enough; for elevations, terraces and pool areas choose C2, ideally C2TE S1.
Step 4: set out the wall
Setting out decides where the cut tiles fall, and it is what separates a neat wall from a careless one. Do it before mixing any adhesive.
- Find the centre. Mark the centre of the wall, or of the feature you want framed, such as a window, a mirror or a TV.
- Lay a dry run. Lay a row of tiles with spacers on the floor or hold them against the wall, and check what is left at each end. If the end pieces are thinner than about a third of a tile, shift the row by half a tile so both ends get a wider cut.
- Decide the height. Plan the top row to finish on a full tile, or at a line such as the top of the door frame. See the setting-out example in how many tiles do I need.
- Fix a batten. Floors are rarely level. Screw a straight timber batten to the wall, levelled, one tile height above the floor. You tile upwards from the batten and fill the bottom row last, cut to fit the floor.
- Mark plumb lines. Draw a vertical line at the centre with the level, and check it every few rows as you work.
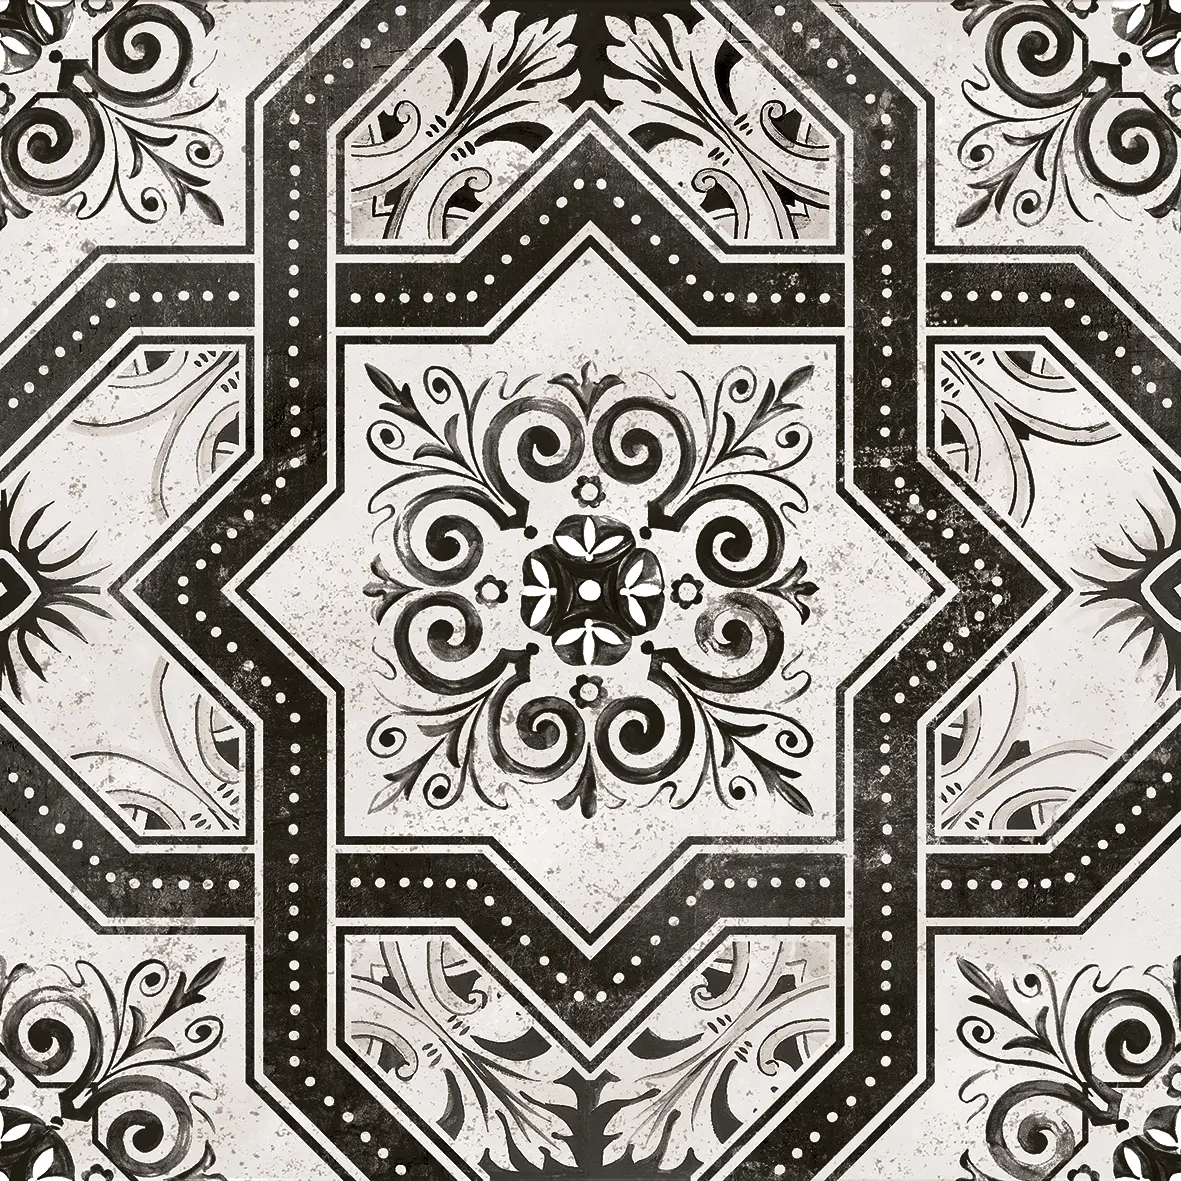
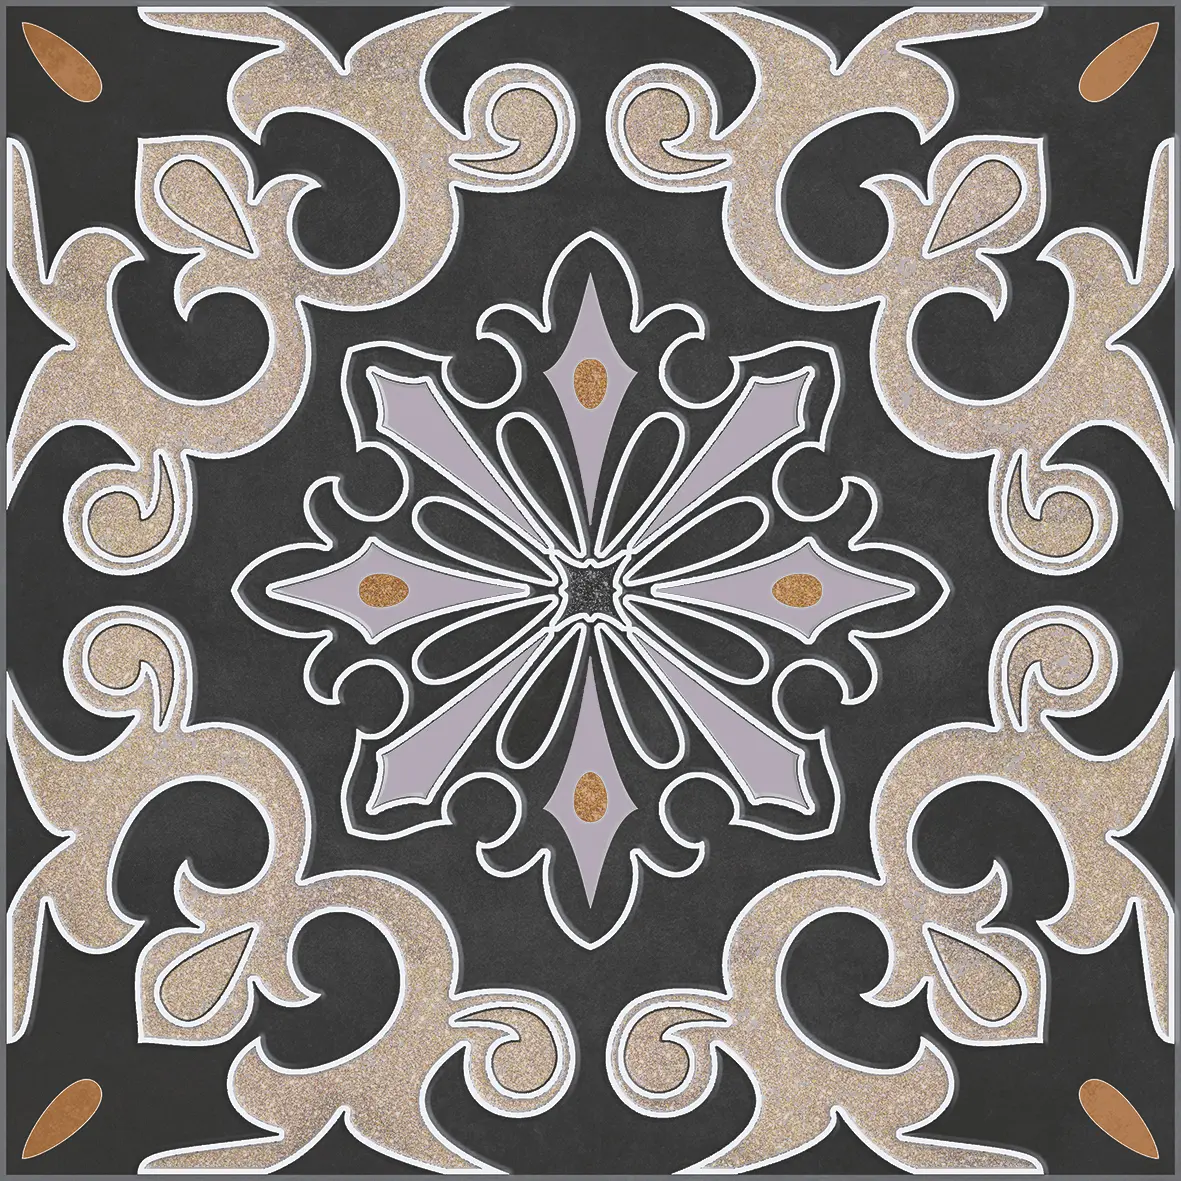
For pattern sets, lay the decor and base tiles out on the floor first. Mix tiles from several boxes, so the printed faces vary across the wall, and if the backs carry arrows keep them pointing the same way. Patterns that join across four tiles, such as Moroccan medallions, need the dry run most of all.



Step 5: mix and spread the adhesive
Mix the adhesive with clean water in the ratio printed on the bag, with a paddle mixer, until it is smooth and lump-free. Let it rest for the few minutes the bag gives, then mix again. Do not add water later to loosen adhesive that has started to set; throw it away.
Spread only as much as you can tile within its working time, usually 15 to 20 minutes for a square metre or two. Spread it flat with the straight edge of the trowel, then comb it with the notched edge held at about 45 degrees, in straight lines. A 6 mm notch suits most 300 × 300 and 300 × 450 mm wall tiles on a flat wall; use a larger notch for 300 × 600 mm tiles or a less even wall. Touch the adhesive with a fingertip now and then: if it no longer sticks to your finger, it has skinned over and must be scraped off and re-spread.
Step 6: fix the tiles
- Back-butter larger tiles. For 300 × 600 mm tiles, decors and exterior tiles, spread a thin coat of adhesive on the back of the tile as well, so there are no empty spots.
- Press and slide. Set the tile on the combed adhesive, press it firmly and slide it a few millimetres across the ridges and back. This collapses the ridges into a full bed.
- Space it. Put spacers in the joints. For ceramic wall tiles, joints of about 2 to 3 mm are common; keep them the same across the wall.
- Check as you go. Lay the level across tiles every few pieces, horizontally, vertically and diagonally, and tap high tiles down with the rubber mallet. Lift a tile now and then to see the back: it should be covered almost completely, and fully in wet areas and outdoors.
- Clean the joints. Scrape adhesive out of the joints and wipe the tile face before it sets.
Once the adhesive under the main area has set, usually the next day, remove the batten and fix the cut tiles of the bottom row.

Step 7: cutting tiles
- Straight cuts: a manual tile cutter scores the glaze and snaps the tile cleanly. Score once, firmly; going over the score twice chips the glaze.
- L-shapes and notches: an angle grinder with a diamond blade. Cut from the face side to reduce chipping.
- Holes for pipes: a diamond hole saw, a little larger than the pipe, so a cover plate hides the edge.
- Edges: smooth cut edges with a rubbing stone. On outside corners, use a tile trim (PVC, aluminium or steel) or mitre the edges at 45 degrees.
Wear eye protection and a dust mask when cutting with a grinder, and cut outdoors or with water to keep dust down.
Step 8: grout the joints
Wait until the adhesive has set, usually 24 hours, before grouting. Remove the spacers and clean any adhesive out of the joints.
- Choose the grout. Cement grout (with polymers) suits most walls. Epoxy grout costs more and is harder to apply, but it does not absorb stains or water, so it is worth it behind a kitchen hob, in a shower and on a pool wall.
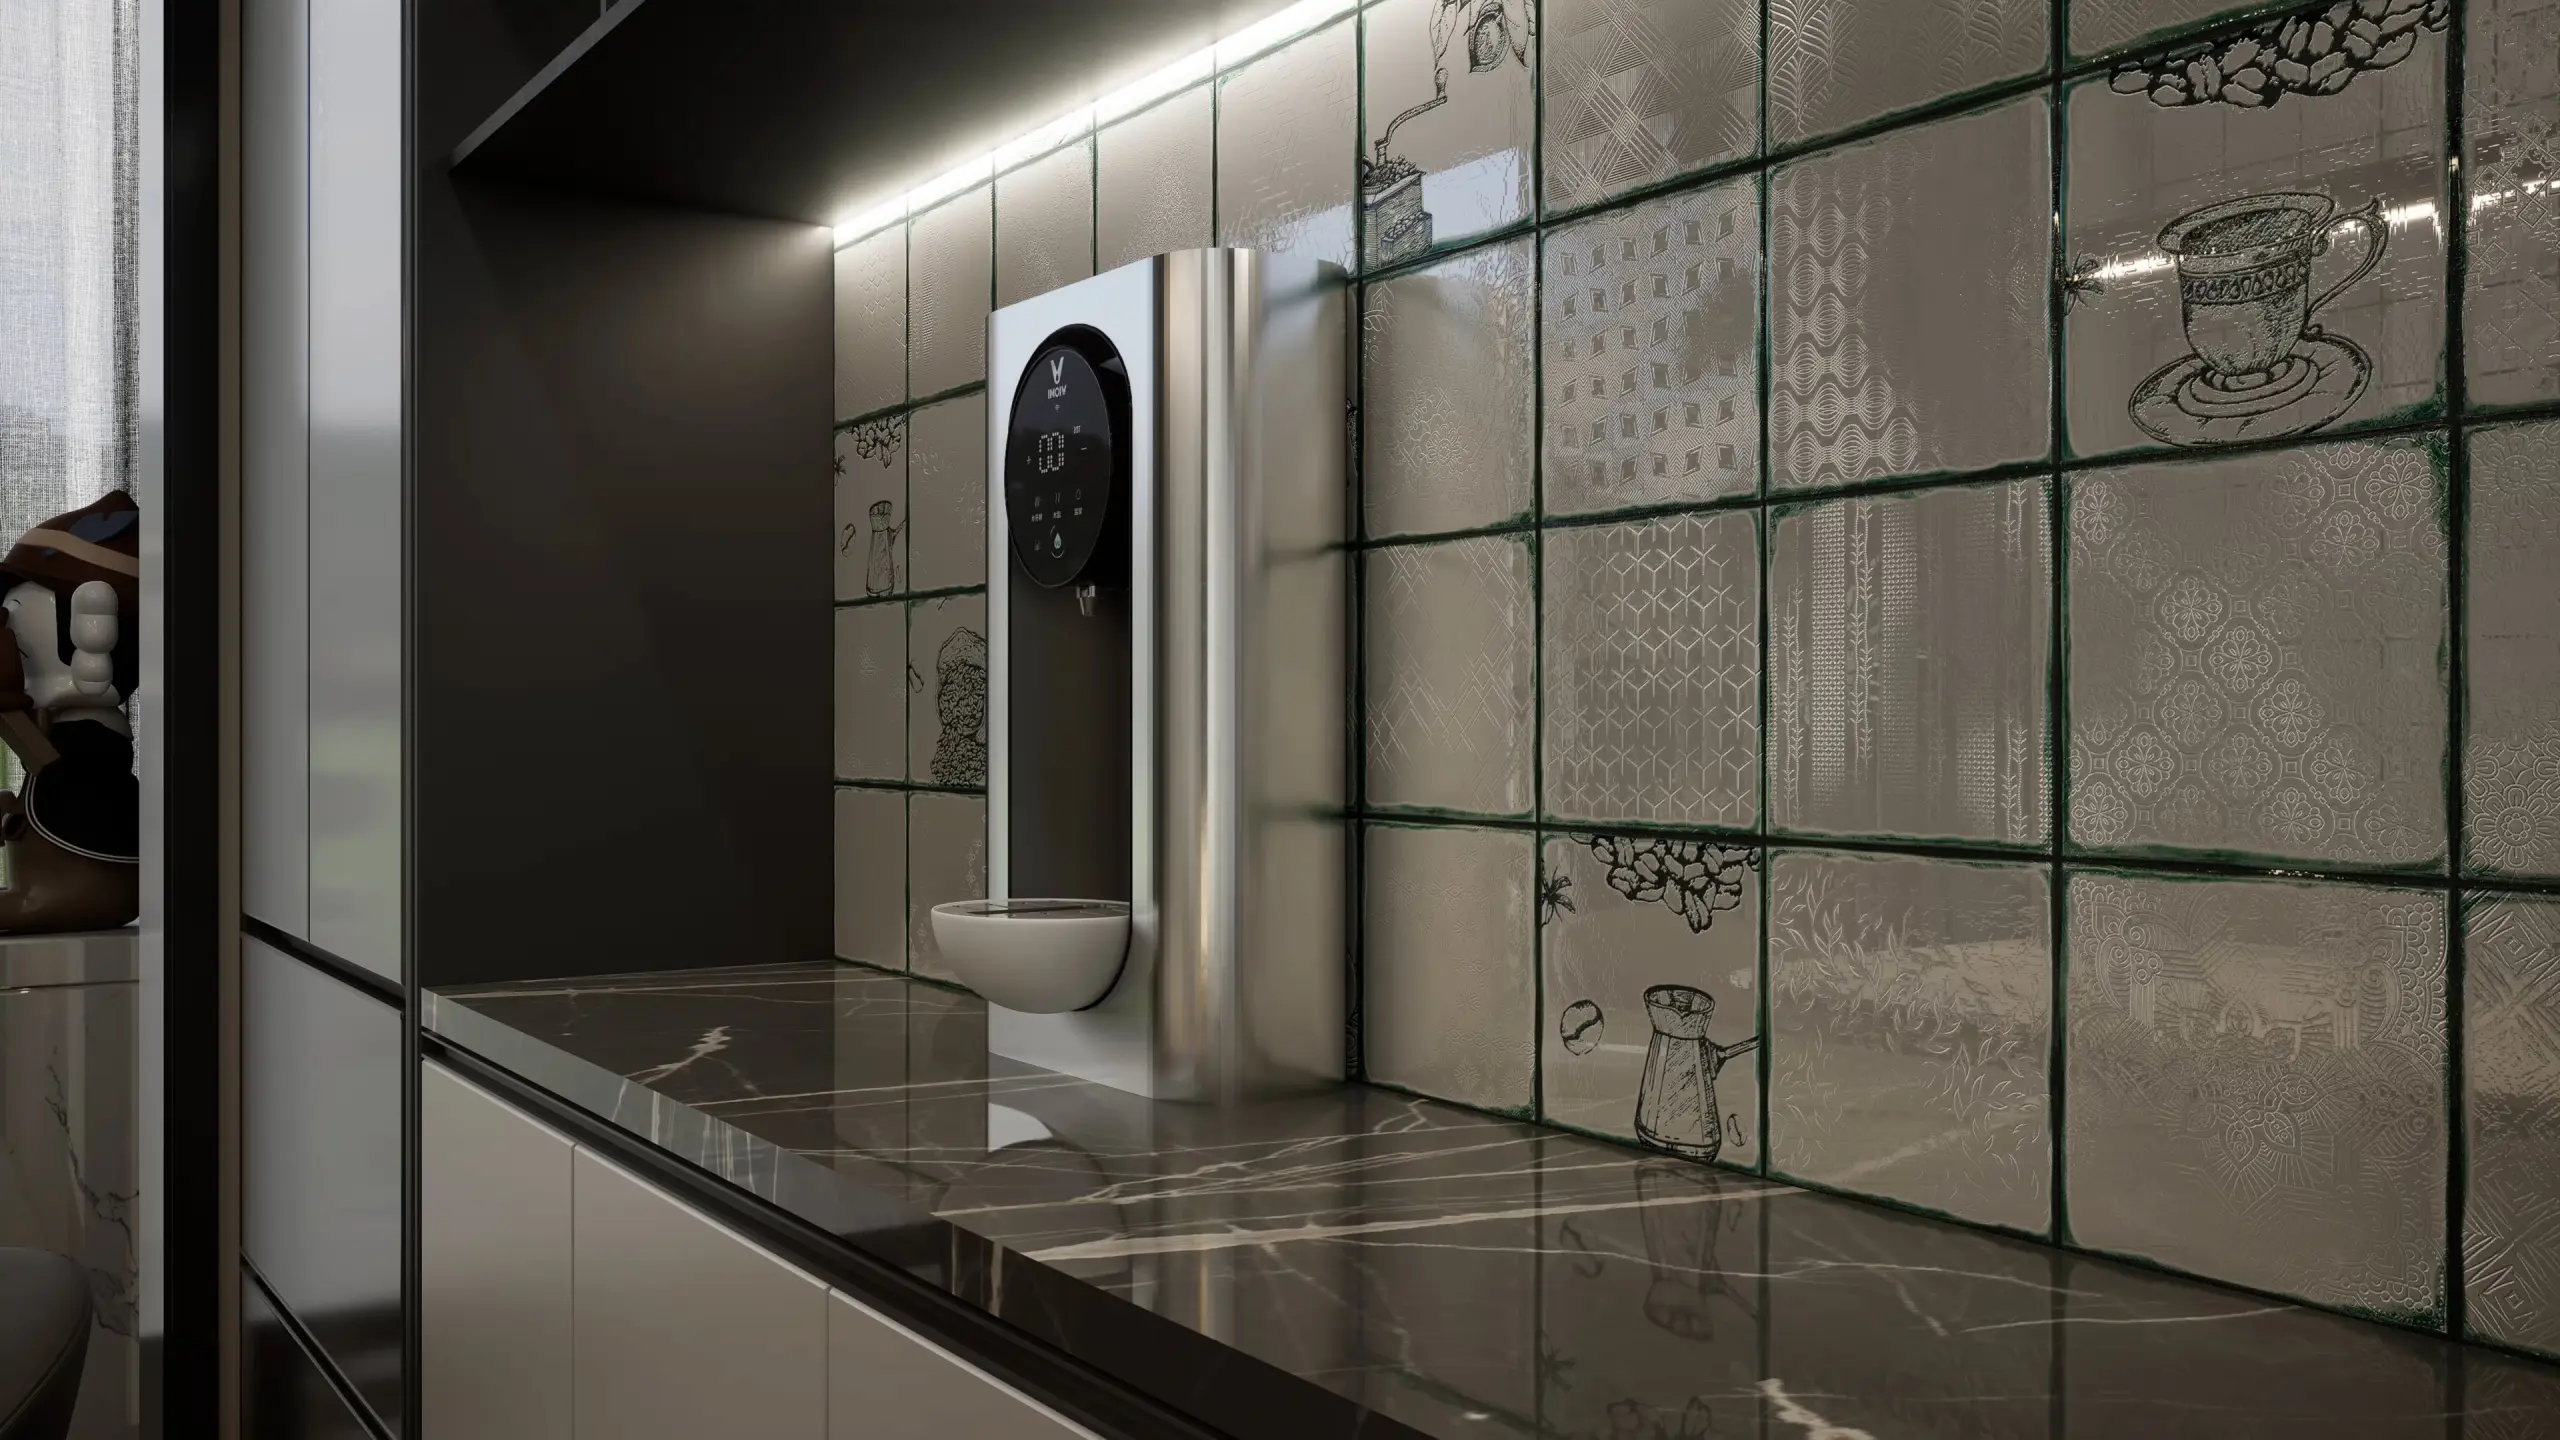
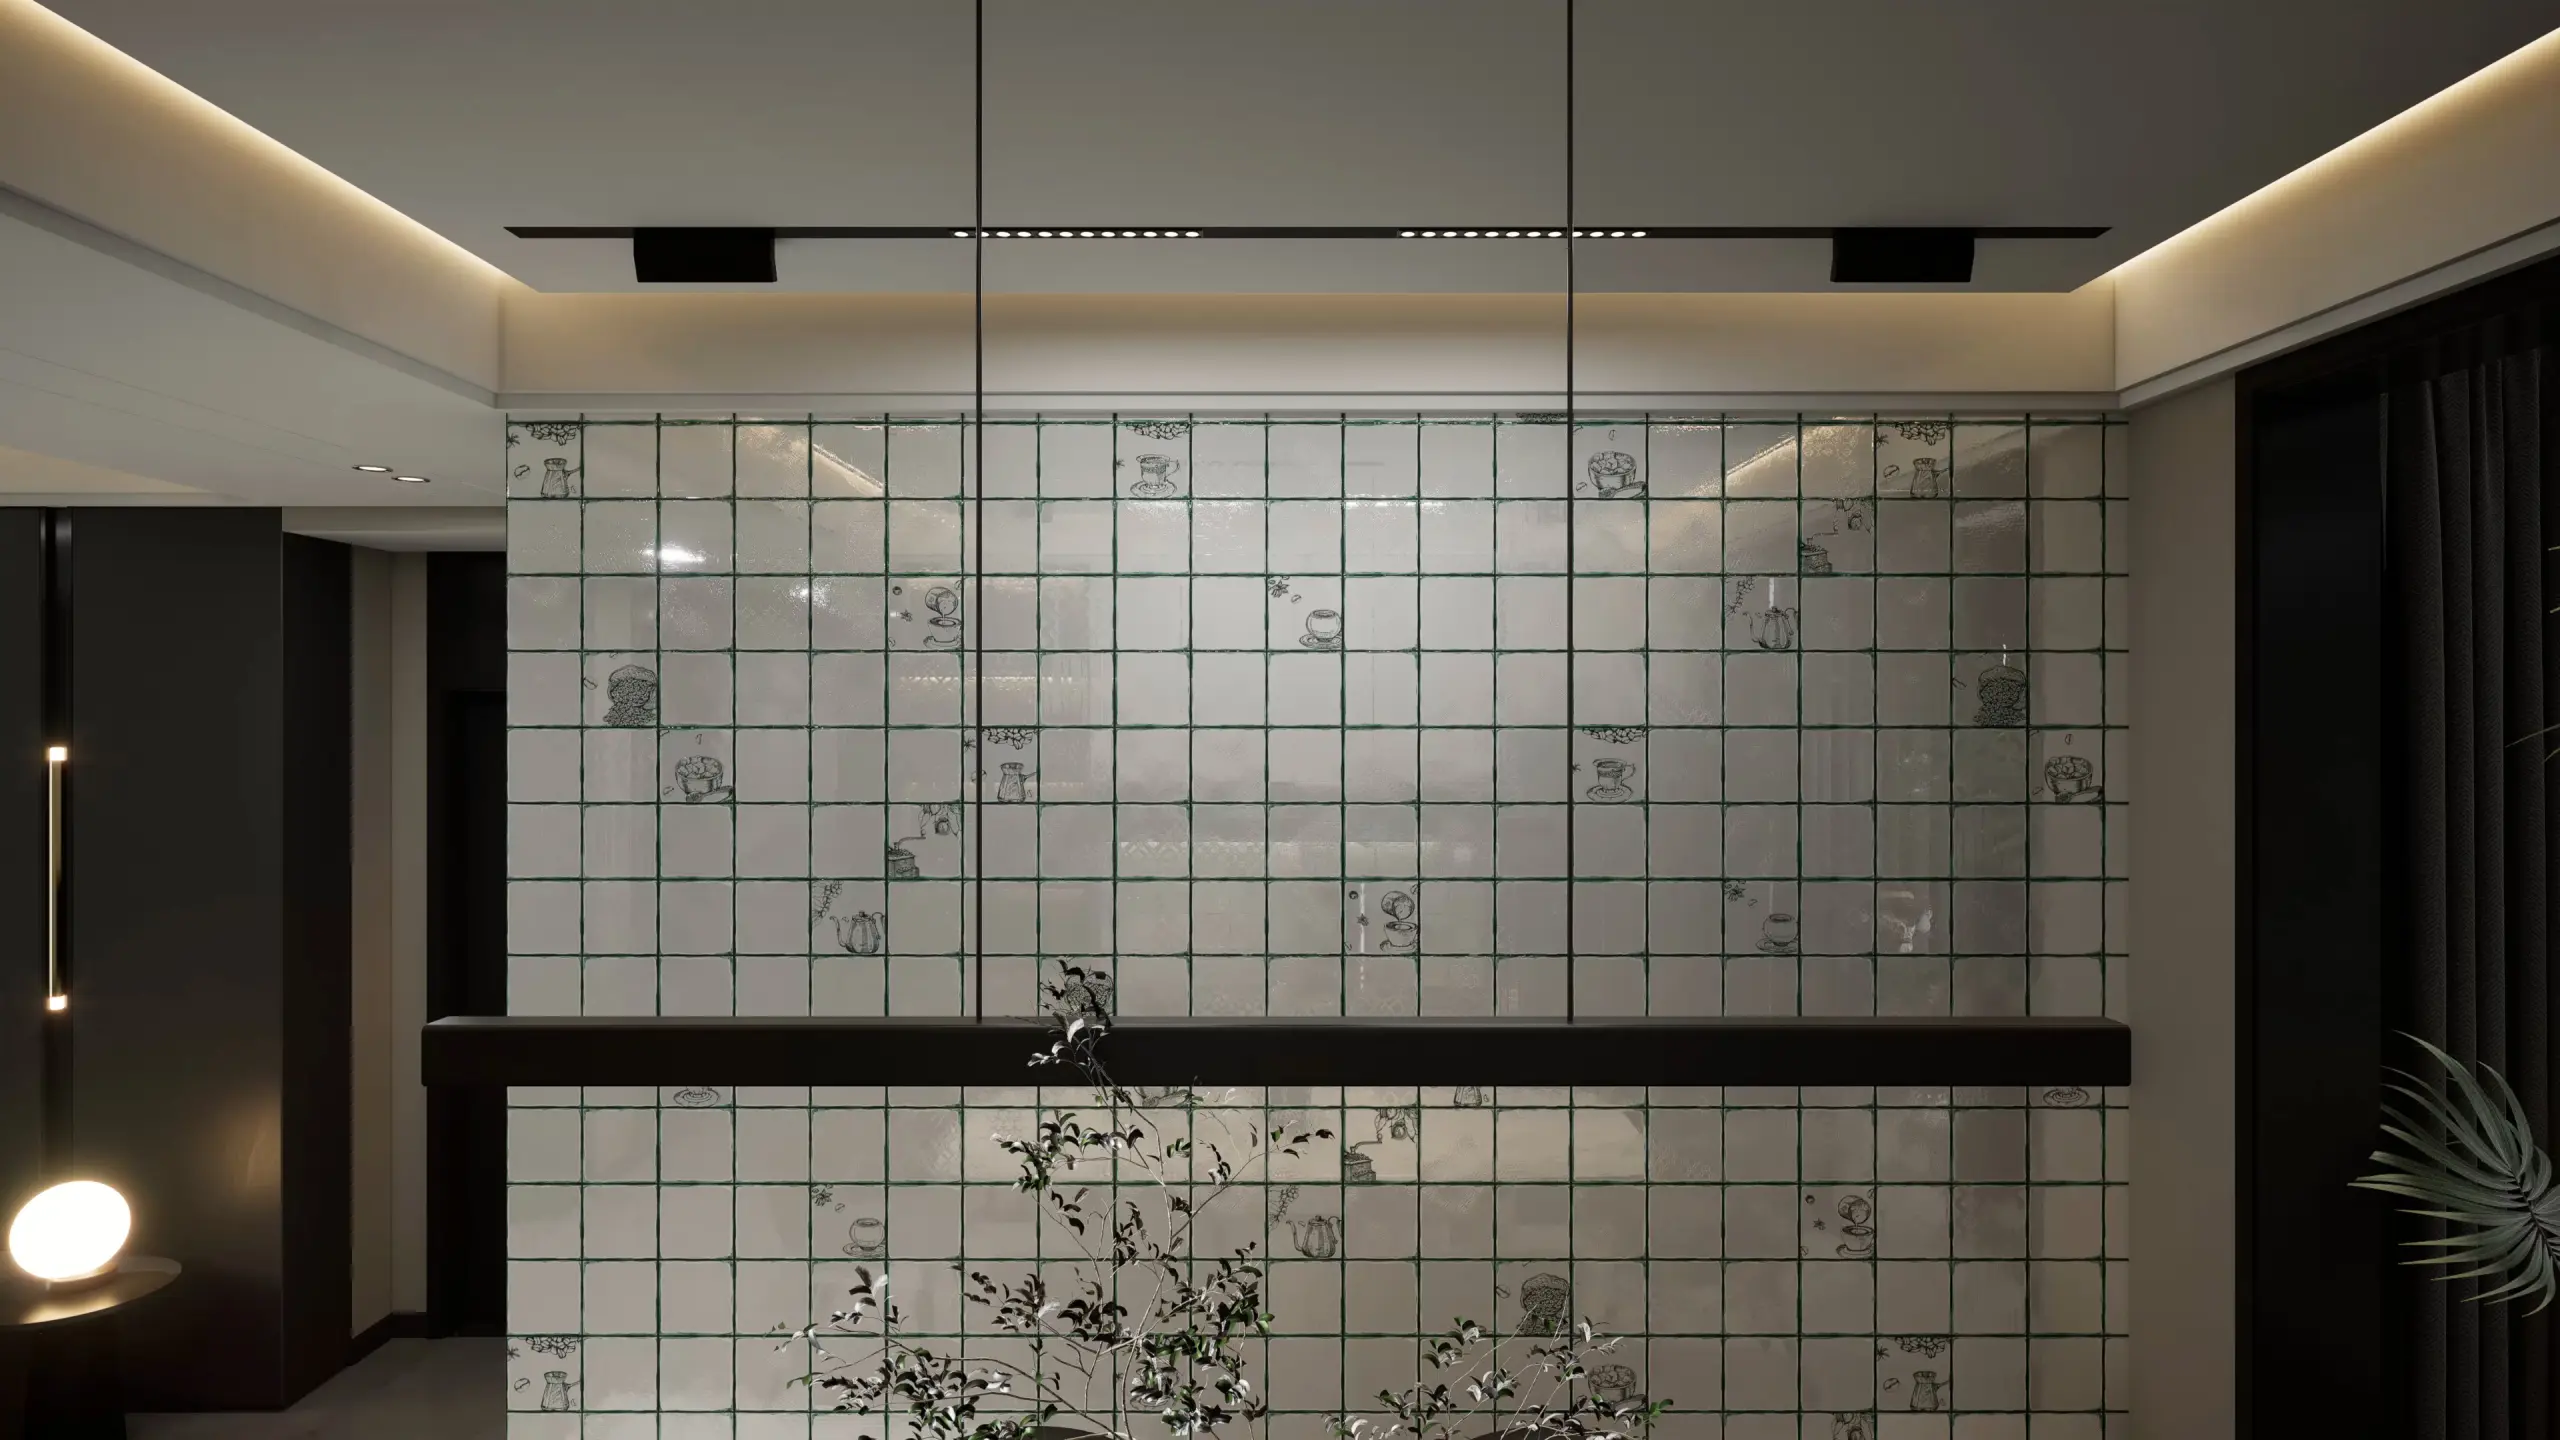
- Choose the colour. A grout close to the tile's background colour makes a wall read as one surface; a contrasting grout outlines every tile. For printed patterns that join across tiles, a matching grout keeps the pattern continuous. Our kitchen and Moroccan tile guides suggest colours.
- Fill. Press the grout into the joints with a rubber float held at an angle, working diagonally across the joints so the float does not pull grout out.
- Clean. After 10 to 20 minutes (when the grout is firm), wipe the face with a damp, well wrung sponge, in light diagonal strokes, rinsing the sponge often. When the haze dries, buff it off with a dry cloth. Epoxy grout must be cleaned off much sooner, as the maker says.
Step 9: seal the corners and edges
Walls and floors move slightly with heat, damp and settling. Rigid grout in an internal corner, where the wall meets the floor, around a bathtub or where a backsplash meets the counter will crack. Fill these joints with a flexible silicone sealant in a matching colour instead. Large walls, and all exterior tiling, also need movement joints at intervals; follow the adhesive maker's spacing.
Keep the tiled area dry for at least a day, and do not use a shower for as long as the grout maker says.
Exterior and elevation walls
Outside, tiles face sun, rain and big daily changes in temperature, so the rules are stricter.
- Use an improved C2 adhesive, preferably deformable (S1), and back-butter every tile for a full bed with no voids where water can sit.
- Fix tiles on cement plaster or concrete, never on paint, putty or texture coating.
- Leave proper joints of at least 3 mm and fill them with an exterior grout; put movement joints at floor levels and along long walls.
- Avoid tiling in hot midday sun or rain; the adhesive dries or washes out before it bonds.
- On high facades, follow the adhesive maker's guidance and your engineer's advice on any mechanical support.
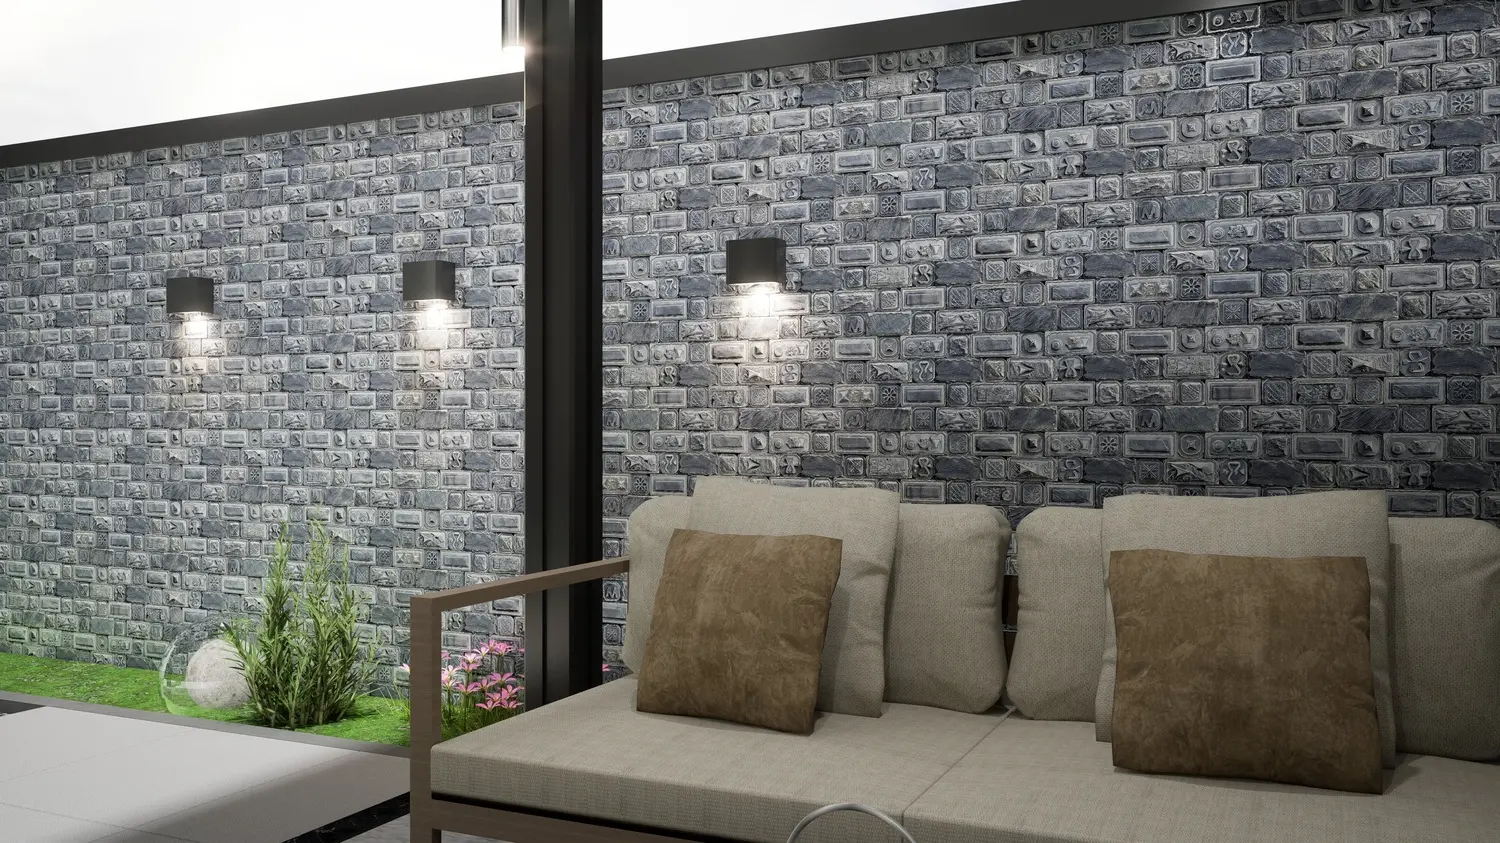
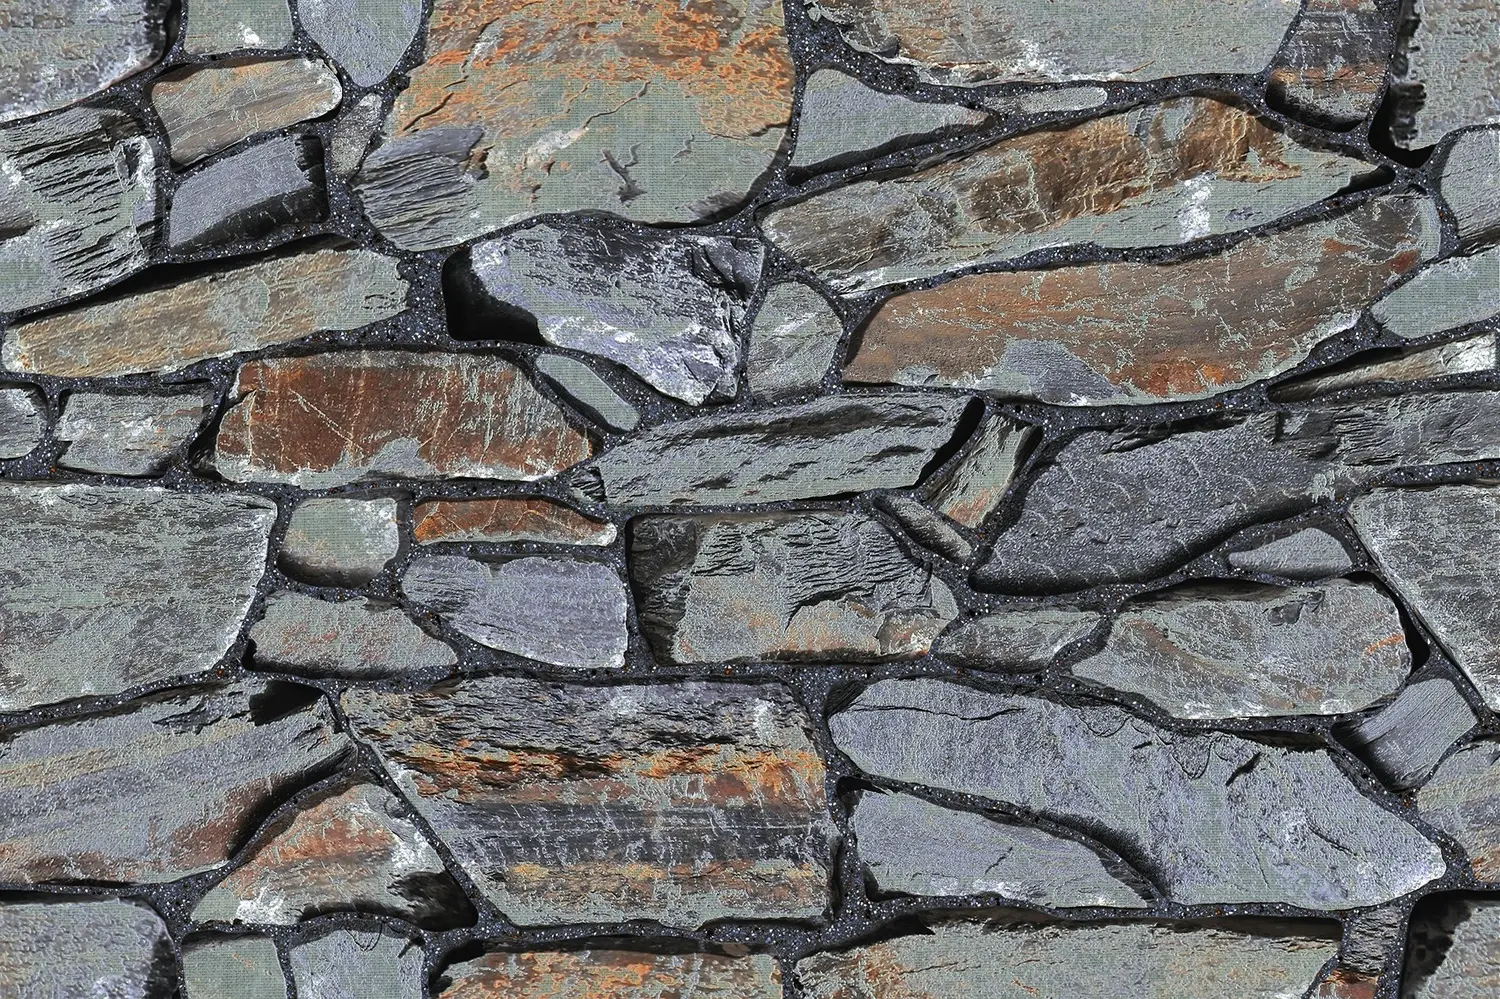
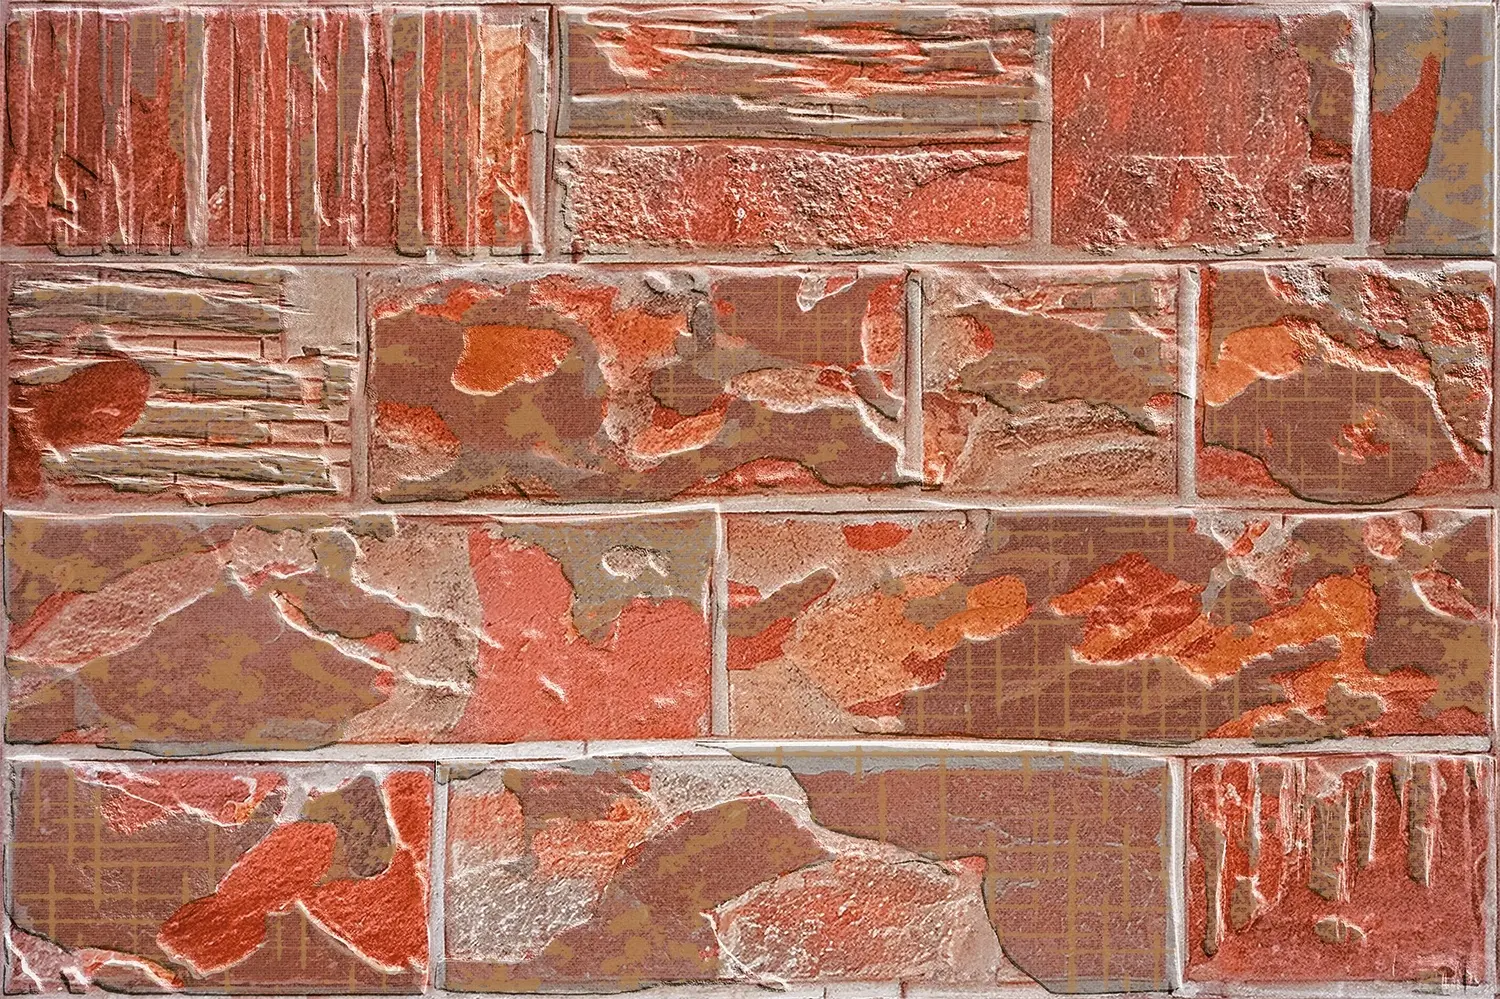
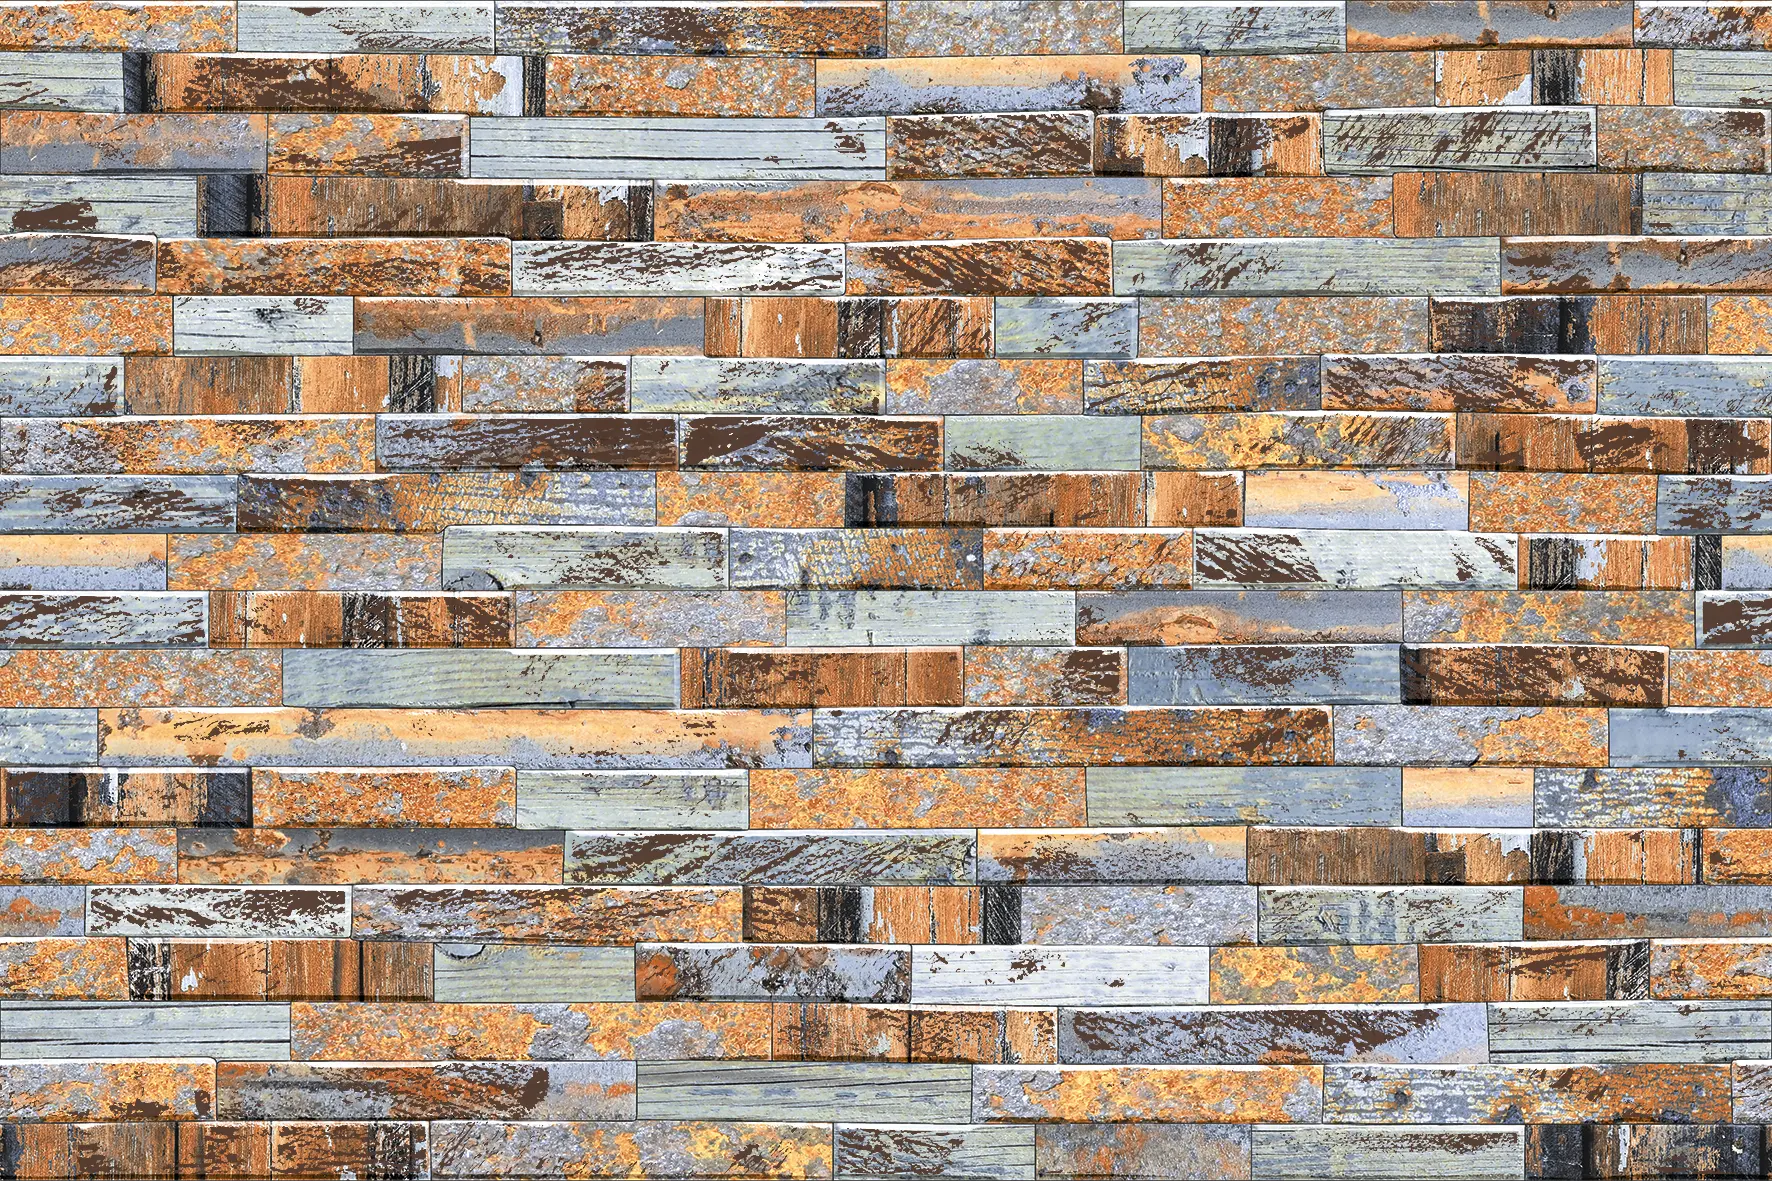
Our stone-look and brick-look elevation tiles, such as Mudy Stone and Jaspo Lalie, are 300 × 450 mm and 7.5 mm thick, light enough for adhesive fixing on a sound wall. The exterior elevation tiles guide covers designs and colours.
Tiling over old tiles, boards and other surfaces
- Over old tiles: possible if every old tile is firmly fixed (tap to check), cleaned of grease and soap, and roughened or primed. Use a C2 adhesive. It adds about 10 to 12 mm to the wall, so check that taps, switches and door frames still fit.
- On cement board: suitable for wet areas and dry partitions; use a deformable adhesive and tape the board joints.
- On gypsum board: dry areas only, with a primer and the board maker's approved adhesive.
- On plywood or wooden surfaces: avoid. Wood swells and shrinks with moisture, and tiles crack or come loose.
Common problems and their causes
| Problem | Usual cause | Prevention |
|---|---|---|
| Hollow sound when tapped | Voids behind the tile from poor adhesive cover | Comb in straight lines, press and slide, back-butter large tiles |
| Tiles come loose | Adhesive skinned over, painted wall, no movement joints | Spread small areas, fix on bare plaster, leave movement joints |
| Uneven edges (lippage) | Wavy wall, uneven adhesive bed | Flatten the wall first, check with a level every few tiles |
| Cracked grout in corners | Rigid grout where surfaces move | Use silicone in corners and at junctions |
| White powder on exterior joints | Salts carried out by water in the wall | Waterproof the wall, use exterior grout, cure properly |
| Pattern does not line up | No dry run, tiles from one box only | Lay out the pattern first and mix boxes |
Checking finished work
Before you accept a tiled wall, check it the way an inspector would:
- Tap tiles with a coin or a knuckle: a dull, hollow sound means a void behind.
- Lay a straight edge across tiles: edges should be flush with no step you can feel.
- Look along the wall with a light held low, to see waves and lips.
- Check joints are even and straight, the grout full, and corners sealed with silicone.
- Check cut tiles sit where they are least seen, and that both ends of each wall match.
After installation
Wait a week before using strong cleaners. For everyday care, see how to clean wall tiles. If you are still choosing tiles, the tile sizes guide and bathroom and kitchen guides help you decide.


Our team can advise on adhesive, joints and layout for any Axoli design: contact us with the wall sizes and the tiles you have chosen.